---
title: Spring WebFlux.fnハンズオン - 5. Web UIの追加
tags: ["Spring WebFlux.fn Handson", "Reactor", "Reactor Netty", "Netty", "Spring 5", "Spring WebFlux", "Java", "Cloud Foundry", "Pivotal Web Services", "Pivotal Cloud Foundry"]
categories: ["Programming", "Java", "org", "springframework", "web", "reactive"]
date: 2019-06-26T18:19:34Z
updated: 1970-01-01T00:00:00Z
---
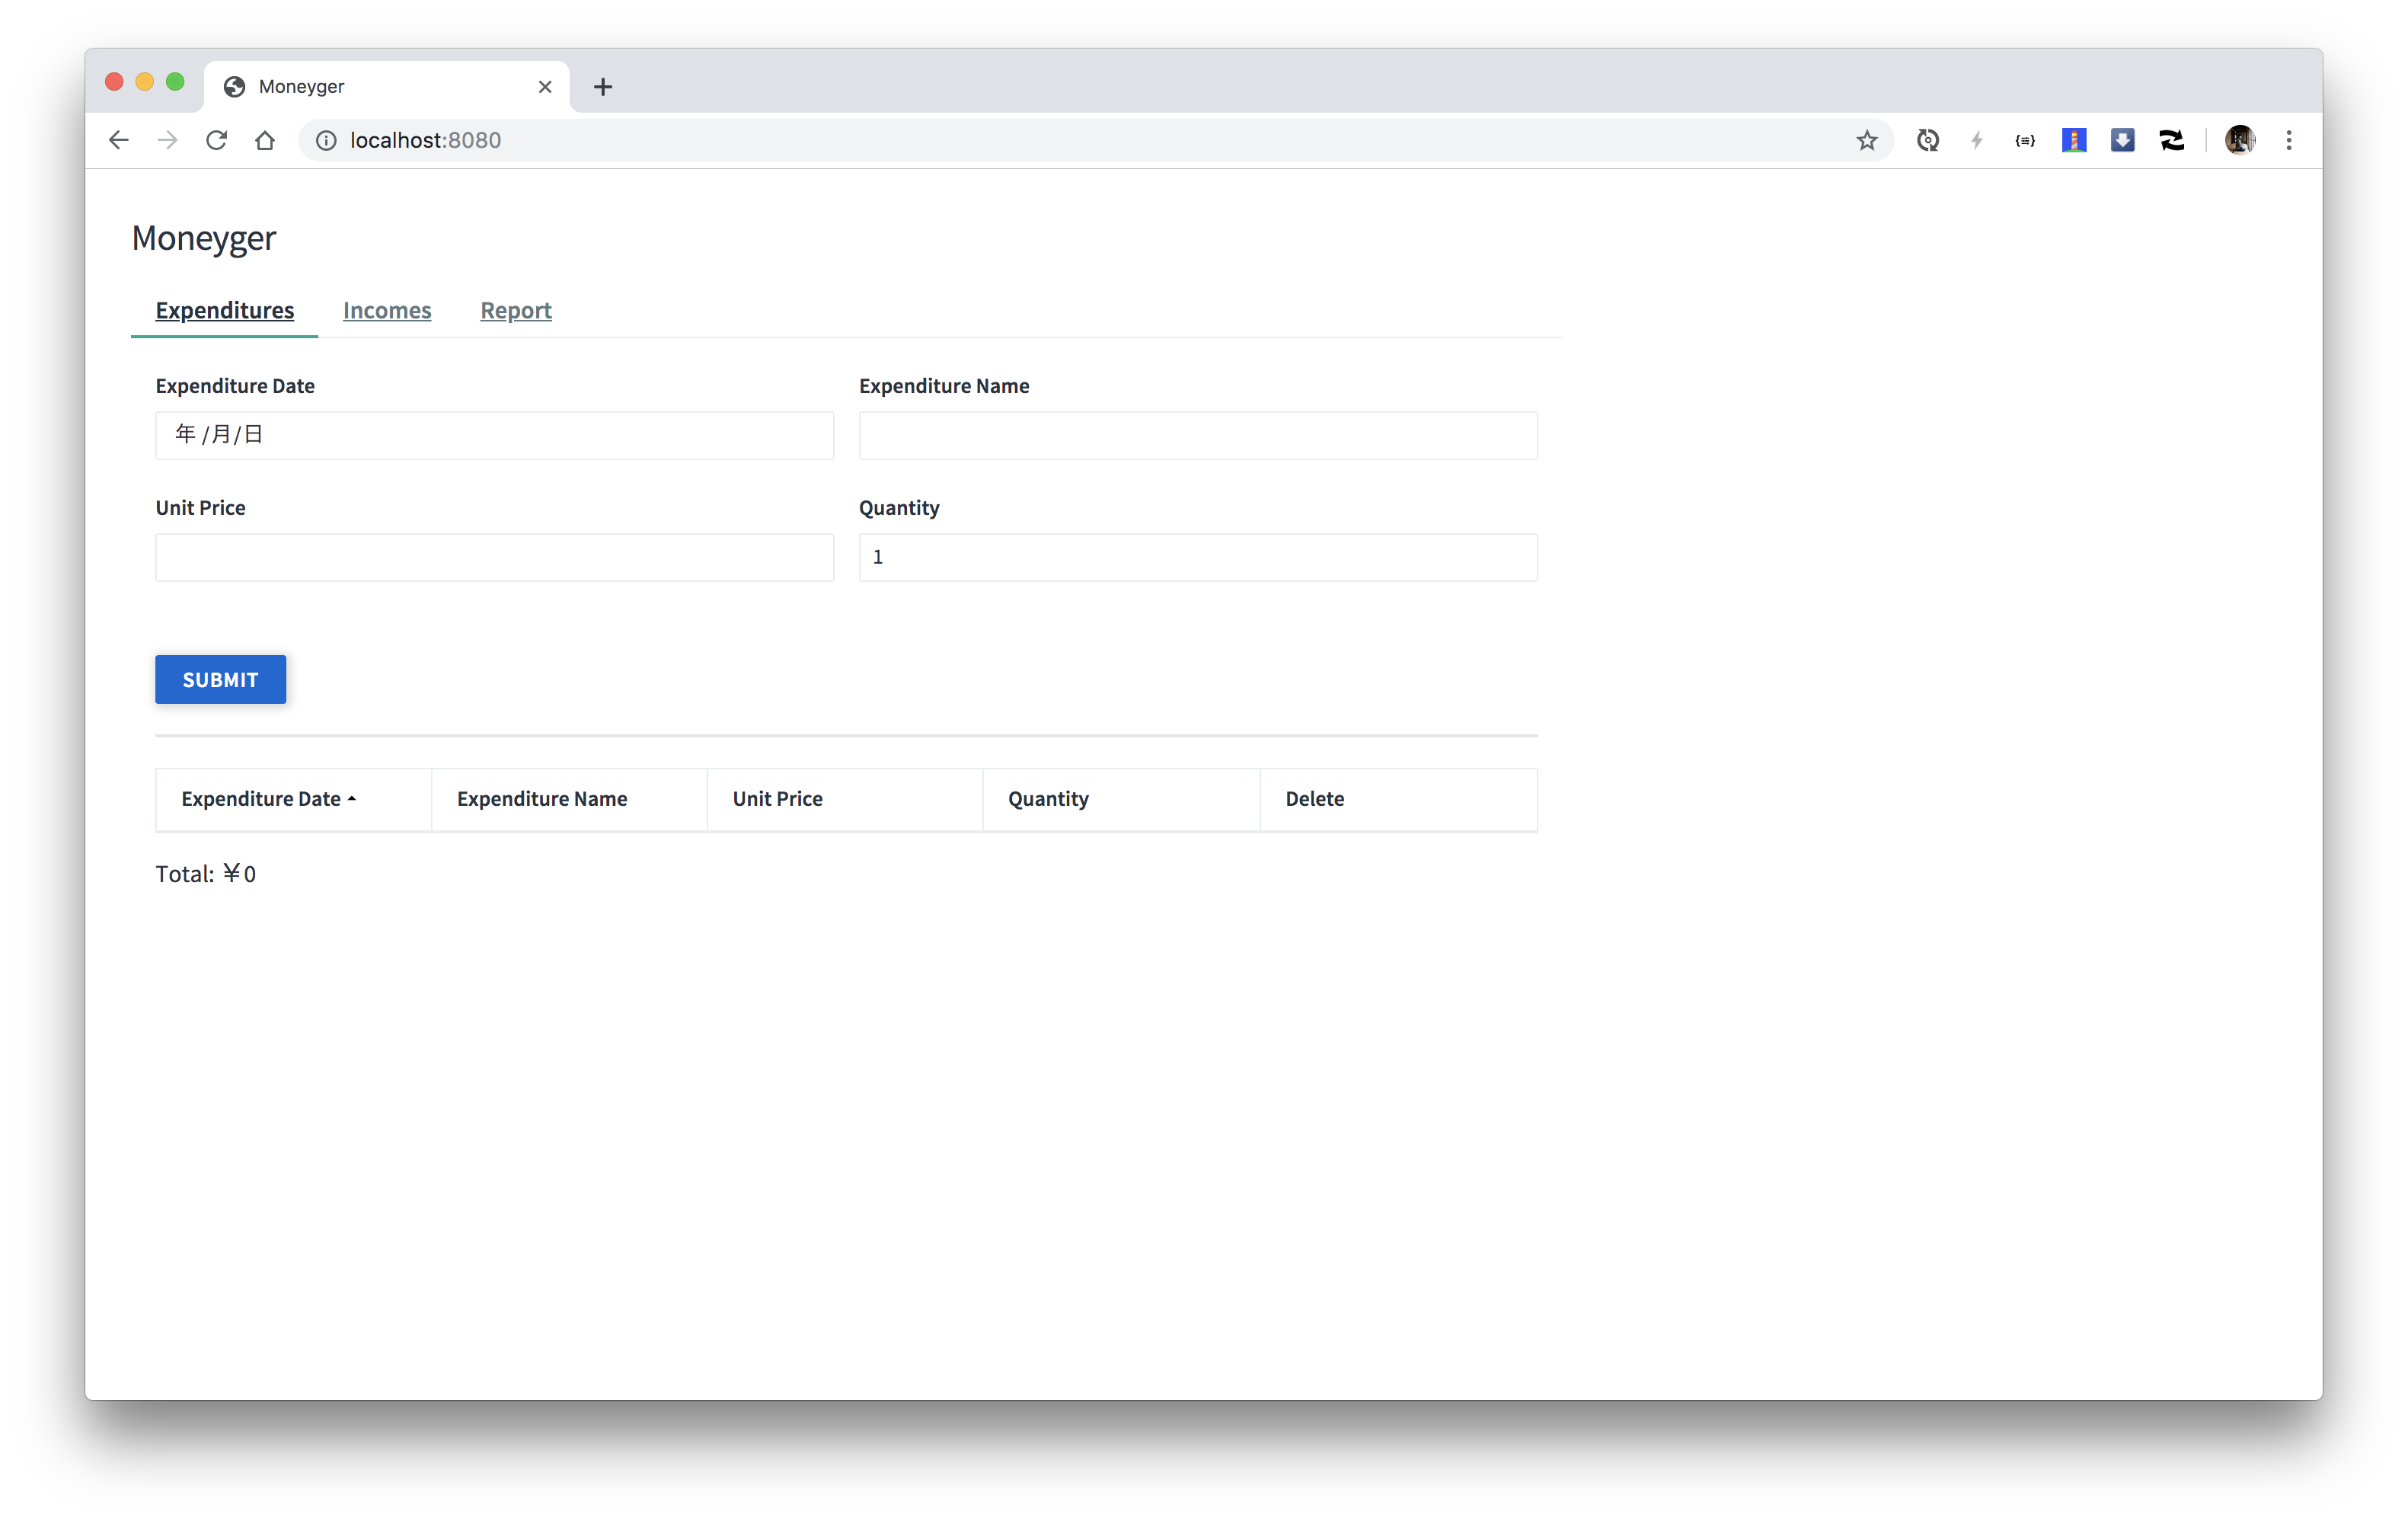
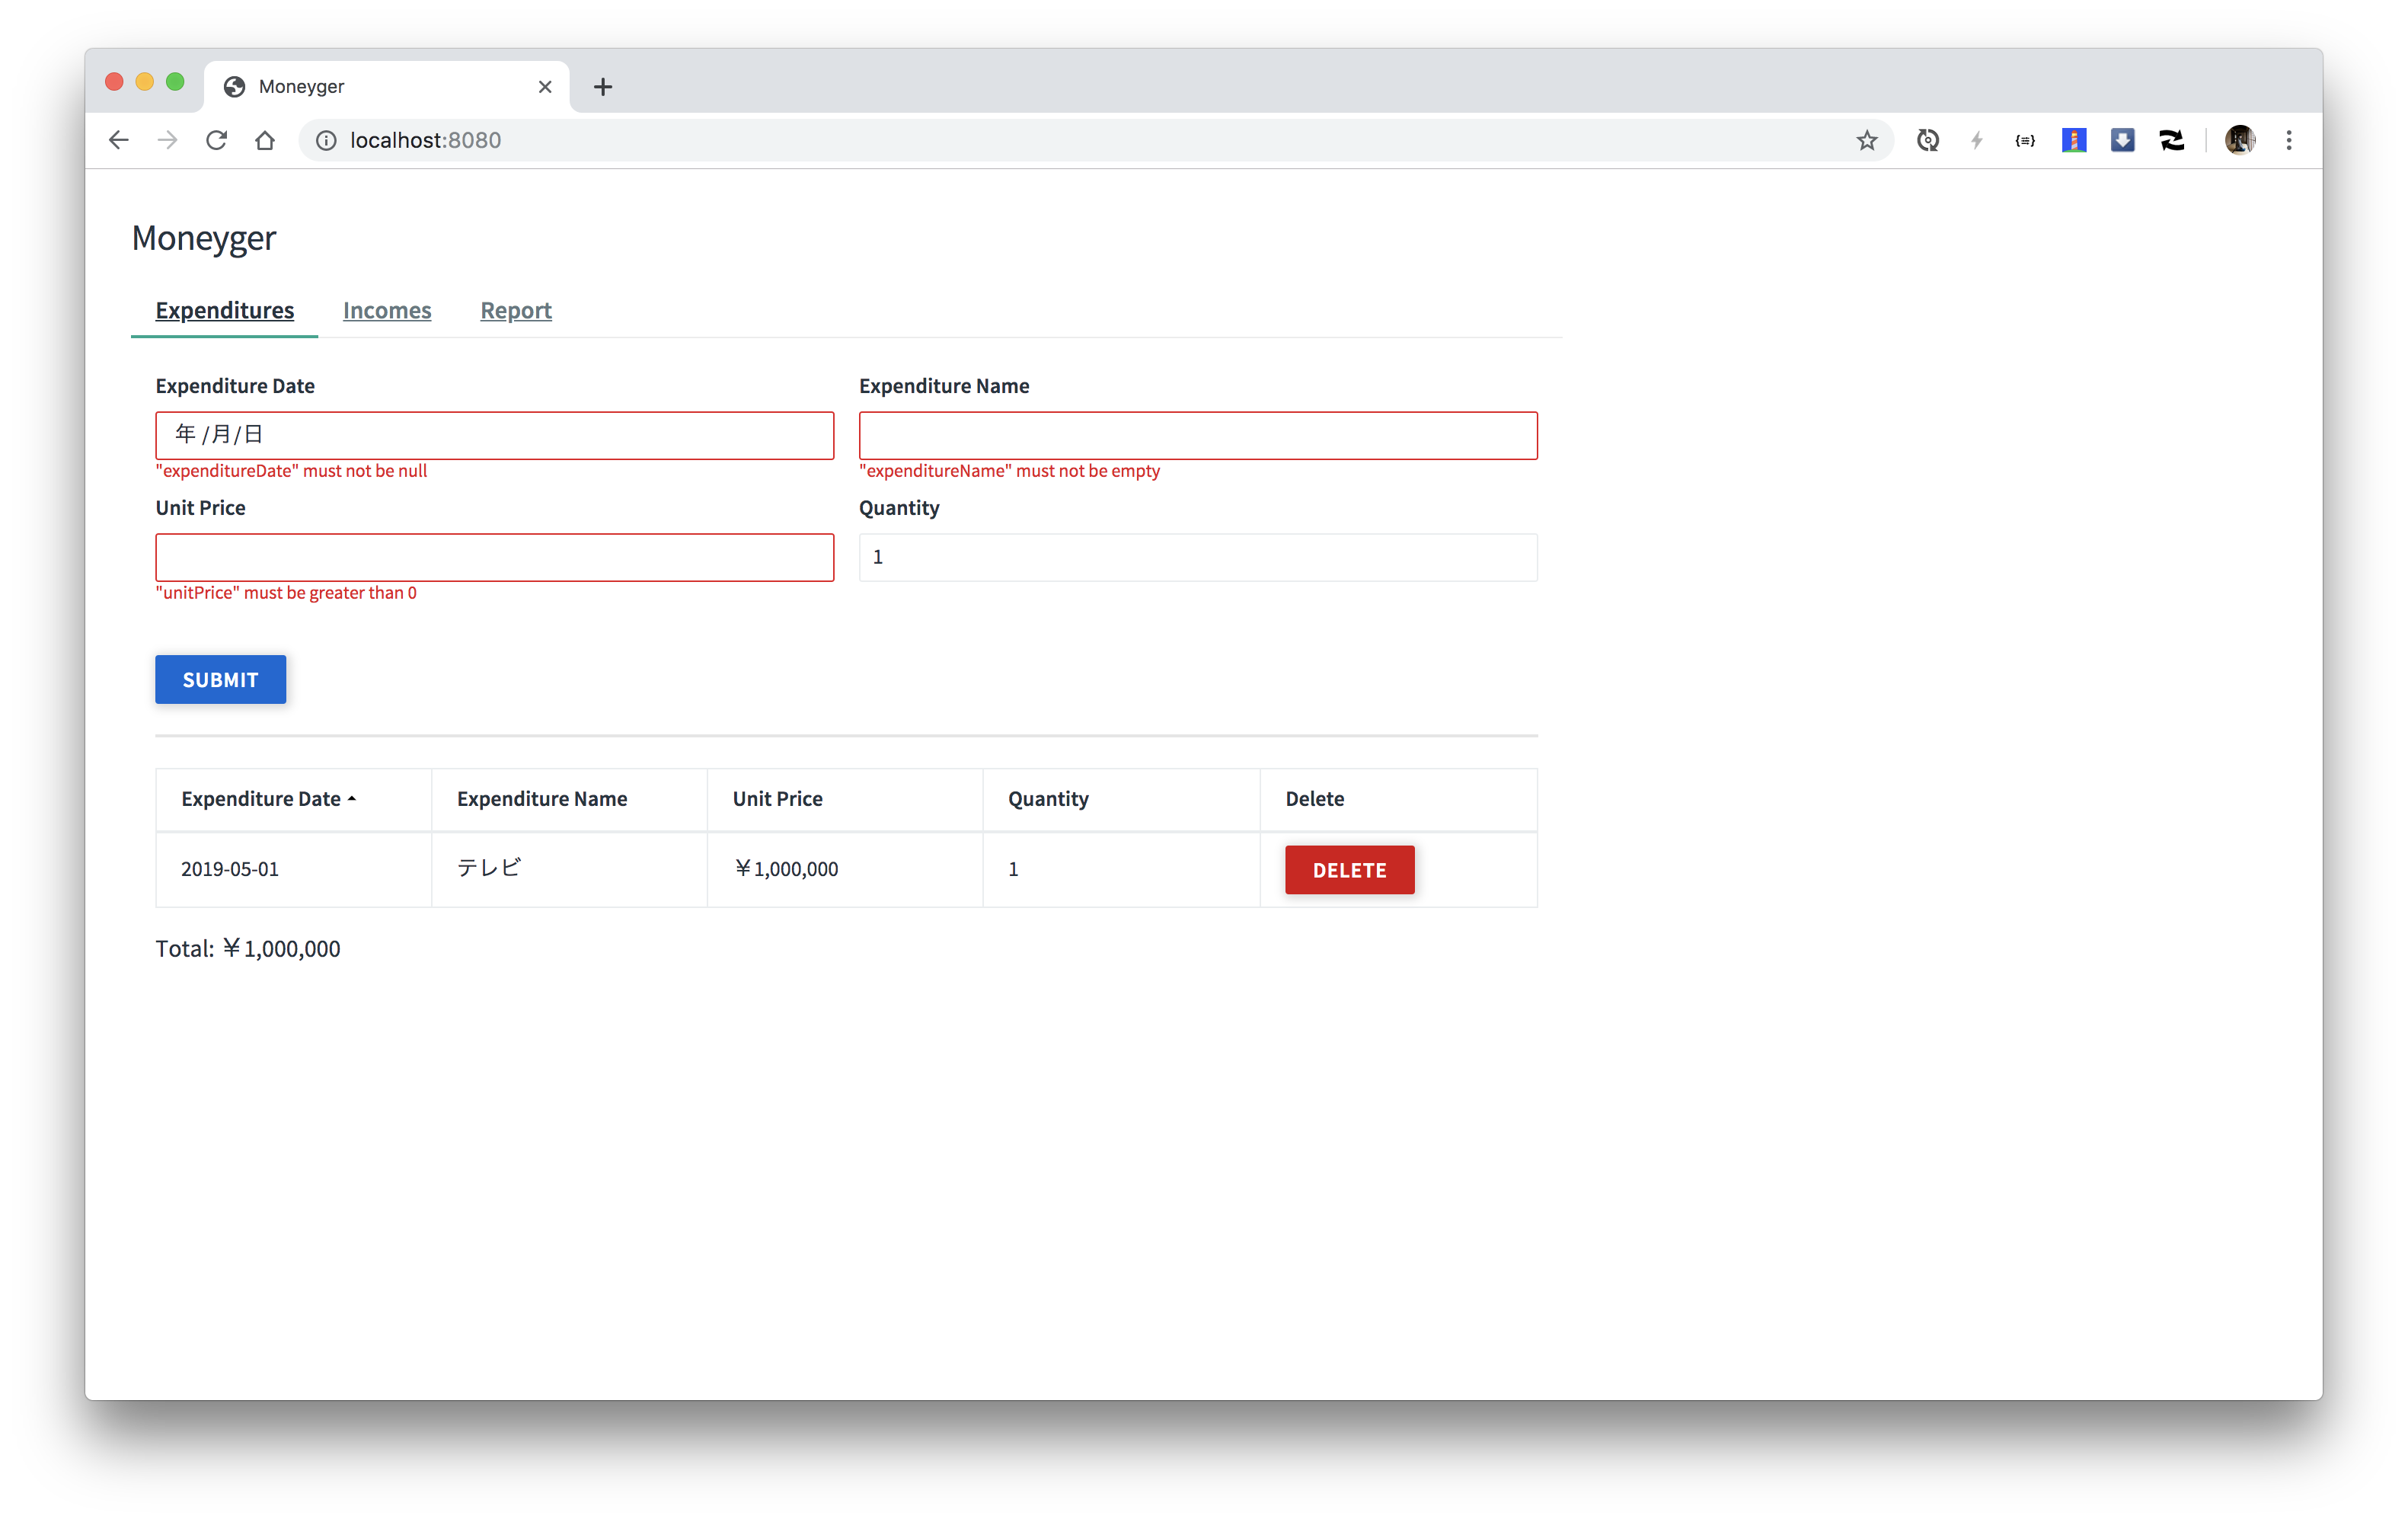
本ハンズオンで、次の図のような簡易家計簿のAPIサーバーをSpring WebFlux.fnを使って実装します。
あえてSpring BootもDependency Injectionも使わないシンプルなWebアプリとして実装します。
**ハンズオンコンテンツ**
1. [はじめに](/entries/500)
1. [簡易家計簿Moneygerプロジェクトの作成](/entries/501)
1. [YAVIによるValidationの実装](/entries/502)
1. [R2DBCによるデータベースアクセス](/entries/503)
1. [Web UIの追加](/entries/504) 👈
1. [例外ハンドリングの改善](/entries/505)
1. [収入APIの実装](/entries/506)
1. [Spring Bootアプリに変換](/entries/507)
1. [GraalVMのSubstrateVMでNative Imageにコンパイル](/entries/510)
### Web UIの追加
APIに対するWeb UIを追加します。
`pom.xml`に次の`repository`を追加してください。
```xml
jitpack.io
https://jitpack.io
```
`pom.xml`に次の`dependency`を追加してください。
```xml
com.github.making
moneyger-ui
master-SNAPSHOT
```
`App.java`に次のメソッドを追加してください。
```java
static RouterFunction staticRoutes() {
return RouterFunctions.route()
.GET("/", req -> ServerResponse.ok().bodyValue(new ClassPathResource("META-INF/resources/index.html")))
.resources("/**", new ClassPathResource("META-INF/resources/"))
.filter((request, next) -> next.handle(request)
.flatMap(response -> ServerResponse.from(response)
.cacheControl(CacheControl.maxAge(Duration.ofDays(3)))
.build(response::writeTo)))
.build();
}
```
`routes`メソッドを次の箇所を
```java
static RouterFunction routes() {
// ...
return new ExpenditureHandler(new R2dbcExpenditureRepository(databaseClient, transactionalOperator)).routes();
}
```
次のように変更してください。
```java
static RouterFunction routes() {
// ...
return staticRoutes()
.and(new ExpenditureHandler(new R2dbcExpenditureRepository(databaseClient, transactionalOperator)).routes());
}
```
`App`クラスの`main`メソッドを実行して、[http://localhost:8080](http://localhost:8080)にアクセスしてください。
#### Cloud Foundryにデプロイ
ビルドして`cf push`してください。
```
./mvnw clean package -DskipTests=true
cf push
```

#### Kubernetesにデプロイ
```
$ pack build --builder cloudfoundry/cnb:bionic --publish
# 例: pack build making/moneyger --builder cloudfoundry/cnb:bionic --publish
```
または
```
$ ./mvnw clean package -DskipTests=true
$ pack build -p target/moneyger-1.0.0-SNAPSHOT.jar --builder cloudfoundry/cnb:bionic --publish
# 例: pack build making/moneyger -p target/moneyger-1.0.0-SNAPSHOT.jar --builder cloudfoundry/cnb:bionic --publish
```
を実行して、
```
kbld -f moneyger.yml | kubectl apply -f -
```
を実行してください。
---
興味があれば自分の好みのUIを実装してください。