---
title: VMware Tanzu Operations ManagerとBOSH DirectorをCLIでvSphereにインストールするメモ
tags: ["vSphere", "Cloud Foundry", "Pivotal Cloud Foundry", "Ops Manager", "TAS", "BOSH"]
categories: ["Dev", "PaaS", "CloudFoundry", "PCF"]
date: 2023-12-07T08:17:16Z
updated: 2023-12-07T08:20:03Z
---
久しぶりに[VMware Tanzu Operations Manager](https://docs.vmware.com/en/VMware-Tanzu-Operations-Manager/index.html) (Ops Manager)をインストールしてます。
GUIは使わず、[`om`](https://github.com/pivotal-cf/om) コマンドでインストールします。
> ℹ️ 初めてインストールする場合は、GUIがお勧めです。複数回インストールする場合は、CLIを使うと便利です。
以下のインストール作業は次のUbuntuマシン上で行いました。
 **目次**
### pivnet CLIのインストール
```
curl https://github.com/pivotal-cf/pivnet-cli/releases/download/v4.1.1/pivnet-linux-amd64-4.1.1 -sL -o pivnet
chmod +x pivnet
sudo mv pivnet /usr/local/bin/pivnet
```
[Tanzu Net](https://network.tanzu.vmware.com/)のAPI Tokenを使ってログインします。
```
pivnet login --api-token=****
```
### om CLIのインストール
```
curl https://github.com/pivotal-cf/om/releases/download/7.9.0/om-linux-amd64-7.9.0 -sL -o om
chmod +x om
sudo mv om /usr/local/bin/om
```
### govc CLIのインストール
```
curl https://github.com/vmware/govmomi/releases/download/v0.33.0/govc_Linux_x86_64.tar.gz -sL | tar xzf - govc
sudo mv govc /usr/local/bin/
```
### bosh CLIのインストール
```
curl https://github.com/cloudfoundry/bosh-cli/releases/download/v7.5.0/bosh-cli-7.5.0-linux-amd64 -sL -o bosh
chmod +x bosh
sudo mv bosh /usr/local/bin/bosh
```
### Ops Managerのインストール
Ovaイメージをダウンロードします。
```
pivnet download-product-files --product-slug='ops-manager' --release-version='3.0.20+LTS-T' --product-file-id=1666674
```
Ops ManagerをインストールするためのvSphereの環境情報を設定します。ここでは次のような設定を`opsman.yml`に定義します。
```yaml
---
opsman-configuration:
vsphere:
vcenter:
datacenter: vc01
datastore: vsanDatastore
url: vc01.example.com
username: administrator@vsphere.local
password: "****"
resource_pool: /vc01/host/vc01cl01/Resources/tas
insecure: 1
disk_type: thin
dns: 8.8.8.8
gateway: 10.220.46.62
hostname: opsman
netmask: 255.255.255.224
network: user-workload
ntp: time.google.com
private_ip: 10.220.46.37
ssh_public_key: ssh-rsa AAAAB3NzaC1yc2EAAAADAQABAAACAQDBDv42W4u5e2bMHqOUukWbhvtUA84cSmatsaeHXuHq4m4KNK+gfh/5Wid4UDyuabW+5YR13CWTb5HbAYpDu+kPNgz7w2ESg7rQYcA1W0kAbp5YD8w6f7pQb+BfRXhZAMFkSzZqtDqYcGNGnXGoFvpi3q8711d6LSwQkffApyz0XrfxVzDeBzPEeEoOR36aVfs9QU+av2ud6gNx4A19IbD277a0ZUvLowJ1Ms+o4eU7X472Id4zE6UCfXwvkrPZkeX6YyVKbu3wjbBmp4DkQar9c8I8av0tBxrebSK6ELQwjA945IuGg7kkvmu60KCCvnmc8XaqUJdviG+6lr8PT+iBazZ4Wm8Xrr3GRWYiwUE+cqEvzefZpWdwXuJw8gcEuhIOTuWbEWMdy3N8KN9M/+5B+irJmXJXmTVdzCEAjukn5+QIsfTJp2DQYKSvlk8gOLk6PXWEUnlgytvaTKxG6Sq97UnLJMRUSebxpaCat37Zs26YFDfVnz7dsFbMT9gGAdMvZULkLc5Dt26uunaLr+NXcD/WUgEdWaEBLuOOSBMyjJulCca2FV38IPdpMBtf8ZvKuLesHnYum8TGxx8lS4+aWxm/OjGGkU4Rpvn/J2XiZY9Nm0xii8h+944RSqxzvKTRcVcr6wPJhVV31pSablshyL87KAobJBACQrd+DMZ5Qw==
```
> ℹ️ その他設定可能な項目は https://docs.pivotal.io/platform-automation/v5.1/how-to-guides/installing-opsman.html#manual-configuration を参照してください。
`om`コマンドでOps ManagerのVMを作成します。
```
om vm-lifecycle create-vm --config=opsman.yml --image-file=ops-manager-vsphere-3.0.20+LTS-T.ova
```
### Ops Managerのユーザー設定
Ops Managerのユーザー設定を行います。次のyamlを作成します。
```
cat < auth.yml
username: opsman
password: VMware1!
decryption-passphrase: opensesami
EOF
cat < env.yml
target: https://opsmanager.10.220.46.37.nip.io
connect-timeout: 30
request-timeout: 1800
skip-ssl-validation: true
username: opsman
password: VMware1!
decryption-passphrase: opensesami
EOF
```
> ⚠️ ここではOps Managerのドメイン名をDNS登録することを省略して、[nip.io](https://nip.io)を使用します。
**目次**
### pivnet CLIのインストール
```
curl https://github.com/pivotal-cf/pivnet-cli/releases/download/v4.1.1/pivnet-linux-amd64-4.1.1 -sL -o pivnet
chmod +x pivnet
sudo mv pivnet /usr/local/bin/pivnet
```
[Tanzu Net](https://network.tanzu.vmware.com/)のAPI Tokenを使ってログインします。
```
pivnet login --api-token=****
```
### om CLIのインストール
```
curl https://github.com/pivotal-cf/om/releases/download/7.9.0/om-linux-amd64-7.9.0 -sL -o om
chmod +x om
sudo mv om /usr/local/bin/om
```
### govc CLIのインストール
```
curl https://github.com/vmware/govmomi/releases/download/v0.33.0/govc_Linux_x86_64.tar.gz -sL | tar xzf - govc
sudo mv govc /usr/local/bin/
```
### bosh CLIのインストール
```
curl https://github.com/cloudfoundry/bosh-cli/releases/download/v7.5.0/bosh-cli-7.5.0-linux-amd64 -sL -o bosh
chmod +x bosh
sudo mv bosh /usr/local/bin/bosh
```
### Ops Managerのインストール
Ovaイメージをダウンロードします。
```
pivnet download-product-files --product-slug='ops-manager' --release-version='3.0.20+LTS-T' --product-file-id=1666674
```
Ops ManagerをインストールするためのvSphereの環境情報を設定します。ここでは次のような設定を`opsman.yml`に定義します。
```yaml
---
opsman-configuration:
vsphere:
vcenter:
datacenter: vc01
datastore: vsanDatastore
url: vc01.example.com
username: administrator@vsphere.local
password: "****"
resource_pool: /vc01/host/vc01cl01/Resources/tas
insecure: 1
disk_type: thin
dns: 8.8.8.8
gateway: 10.220.46.62
hostname: opsman
netmask: 255.255.255.224
network: user-workload
ntp: time.google.com
private_ip: 10.220.46.37
ssh_public_key: ssh-rsa AAAAB3NzaC1yc2EAAAADAQABAAACAQDBDv42W4u5e2bMHqOUukWbhvtUA84cSmatsaeHXuHq4m4KNK+gfh/5Wid4UDyuabW+5YR13CWTb5HbAYpDu+kPNgz7w2ESg7rQYcA1W0kAbp5YD8w6f7pQb+BfRXhZAMFkSzZqtDqYcGNGnXGoFvpi3q8711d6LSwQkffApyz0XrfxVzDeBzPEeEoOR36aVfs9QU+av2ud6gNx4A19IbD277a0ZUvLowJ1Ms+o4eU7X472Id4zE6UCfXwvkrPZkeX6YyVKbu3wjbBmp4DkQar9c8I8av0tBxrebSK6ELQwjA945IuGg7kkvmu60KCCvnmc8XaqUJdviG+6lr8PT+iBazZ4Wm8Xrr3GRWYiwUE+cqEvzefZpWdwXuJw8gcEuhIOTuWbEWMdy3N8KN9M/+5B+irJmXJXmTVdzCEAjukn5+QIsfTJp2DQYKSvlk8gOLk6PXWEUnlgytvaTKxG6Sq97UnLJMRUSebxpaCat37Zs26YFDfVnz7dsFbMT9gGAdMvZULkLc5Dt26uunaLr+NXcD/WUgEdWaEBLuOOSBMyjJulCca2FV38IPdpMBtf8ZvKuLesHnYum8TGxx8lS4+aWxm/OjGGkU4Rpvn/J2XiZY9Nm0xii8h+944RSqxzvKTRcVcr6wPJhVV31pSablshyL87KAobJBACQrd+DMZ5Qw==
```
> ℹ️ その他設定可能な項目は https://docs.pivotal.io/platform-automation/v5.1/how-to-guides/installing-opsman.html#manual-configuration を参照してください。
`om`コマンドでOps ManagerのVMを作成します。
```
om vm-lifecycle create-vm --config=opsman.yml --image-file=ops-manager-vsphere-3.0.20+LTS-T.ova
```
### Ops Managerのユーザー設定
Ops Managerのユーザー設定を行います。次のyamlを作成します。
```
cat < auth.yml
username: opsman
password: VMware1!
decryption-passphrase: opensesami
EOF
cat < env.yml
target: https://opsmanager.10.220.46.37.nip.io
connect-timeout: 30
request-timeout: 1800
skip-ssl-validation: true
username: opsman
password: VMware1!
decryption-passphrase: opensesami
EOF
```
> ⚠️ ここではOps Managerのドメイン名をDNS登録することを省略して、[nip.io](https://nip.io)を使用します。
> しかし、プロダクションでは、IPに依存して名前が変わらないようなドメイン名を使用してください。
> Ops Managerは初回の設定でドメイン名を保存し、以降リダイレクトURLなどに使用します。そのため、Ops ManagerのIPが変わった場合には、初回登録のドメイン名でOps Managerにアクセスできなくなります。
`om`コマンドでユーザー設定います。
```
om --env env.yml \
--skip-ssl-validation \
configure-authentication \
--config auth.yml
```
試しに、Ops ManagerのURLにアクセスし、登録したユーザーでログインすると、次のような画面が見えるはずです。
 ### BOSH Directorのインストール
BOSH Directorの設定はCLIで行います。設定ファイルの雛形を次のコマンドで取得します。
```
om --env env.yml staged-director-config --no-redact > director.yml
```
設定を埋めます。以下は例です。
```yaml
az-configuration:
- name: az01
iaas_configuration_name: default
clusters:
- cluster: vc01cl01
drs_rule: MUST
host_group: null
resource_pool: tas
iaas-configurations:
- additional_cloud_properties: {}
bosh_disk_path: pcf_disk
bosh_template_folder: pcf_templates
bosh_vm_folder: pcf_vms
datacenter: vc01
disk_type: thin
enable_human_readable_name: true
ephemeral_datastore_clusters_string: ""
ephemeral_datastores_string: vsanDatastore
name: default
nsx_networking_enabled: false
persistent_datastore_clusters_string: ""
persistent_datastores_string: vsanDatastore
ssl_verification_enabled: false
vcenter_ca_certificate: |-
-----BEGIN CERTIFICATE-----
vCenterのCA証明書
取得方法: https://cloud.google.com/anthos/clusters/docs/on-prem/latest/how-to/vcenter-ca-cert-path
-----END CERTIFICATE-----
vcenter_host: vc01.example.com
vcenter_password: "*****"
vcenter_username: administrator@vsphere.local
network-assignment:
network:
name: infrastructure
other_availability_zones: []
singleton_availability_zone:
name: az01
networks-configuration:
icmp_checks_enabled: true
networks:
- name: infrastructure
subnets:
- iaas_identifier: user-workload
cidr: 192.168.10.0/24
dns: 8.8.8.8
gateway: 192.168.10.1
reserved_ip_ranges: 192.168.10.1-192.168.10.10
availability_zone_names:
- az01
- name: deployment
subnets:
- iaas_identifier: user-workload
cidr: 192.168.12.0/24
dns: 8.8.8.8
gateway: 192.168.12.1
reserved_ip_ranges: 192.168.12.1-192.168.12.10
availability_zone_names:
- az01
- name: services
subnets:
- iaas_identifier: user-workload
cidr: 192.168.14.0/24
dns: 8.8.8.8
gateway: 192.168.14.1
reserved_ip_ranges: 192.168.14.1-192.168.14.10
availability_zone_names:
- az01
properties-configuration:
director_configuration:
additional_ssh_users: []
automatic_certificate_rotation_enabled: false
blobstore_type: local
bosh_director_recreate_on_next_deploy: false
bosh_recreate_on_next_deploy: false
bosh_recreate_persistent_disks_on_next_deploy: false
ca_certificate_duration: 3650
database_type: internal
director_metrics_server_enabled: true
director_worker_count: 5
duration_overrides_enabled: true
encryption:
keys: []
providers: []
hm_emailer_options:
enabled: false
hm_pager_duty_options:
enabled: false
identification_tags: {}
job_configuration_on_tmpfs: false
keep_unreachable_vms: false
leaf_certificate_duration: 3650
local_blobstore_options:
enable_signed_urls: true
ntp_servers_string: time.google.com
post_deploy_enabled: false
resurrector_enabled: true
retry_bosh_deploys: false
short_lived_nats_bootstrap_credentials_enabled: false
skip_director_drain: false
system_metrics_runtime_enabled: true
dns_configuration:
excluded_recursors: []
handlers: []
security_configuration:
clear_default_trusted_certificates_store: false
generate_vm_passwords: true
opsmanager_root_ca_trusted_certs: true
syslog_configuration:
enabled: false
resource-configuration:
compilation:
additional_networks: []
additional_vm_extensions: []
instance_type:
id: automatic
instances: automatic
nsxt:
lb:
server_pools: []
ns_groups: []
swap_as_percent_of_memory_size: automatic
director:
additional_networks: []
additional_vm_extensions: []
instance_type:
id: automatic
instances: automatic
nsxt:
lb:
server_pools: []
ns_groups: []
persistent_disk:
name: automatic
size_mb: automatic
swap_as_percent_of_memory_size: automatic
vmextensions-configuration: []
vmtypes-configuration: {}
```
`om`コマンドで設定を反映します。
```
om --env env.yml configure-director -c director.yml
```
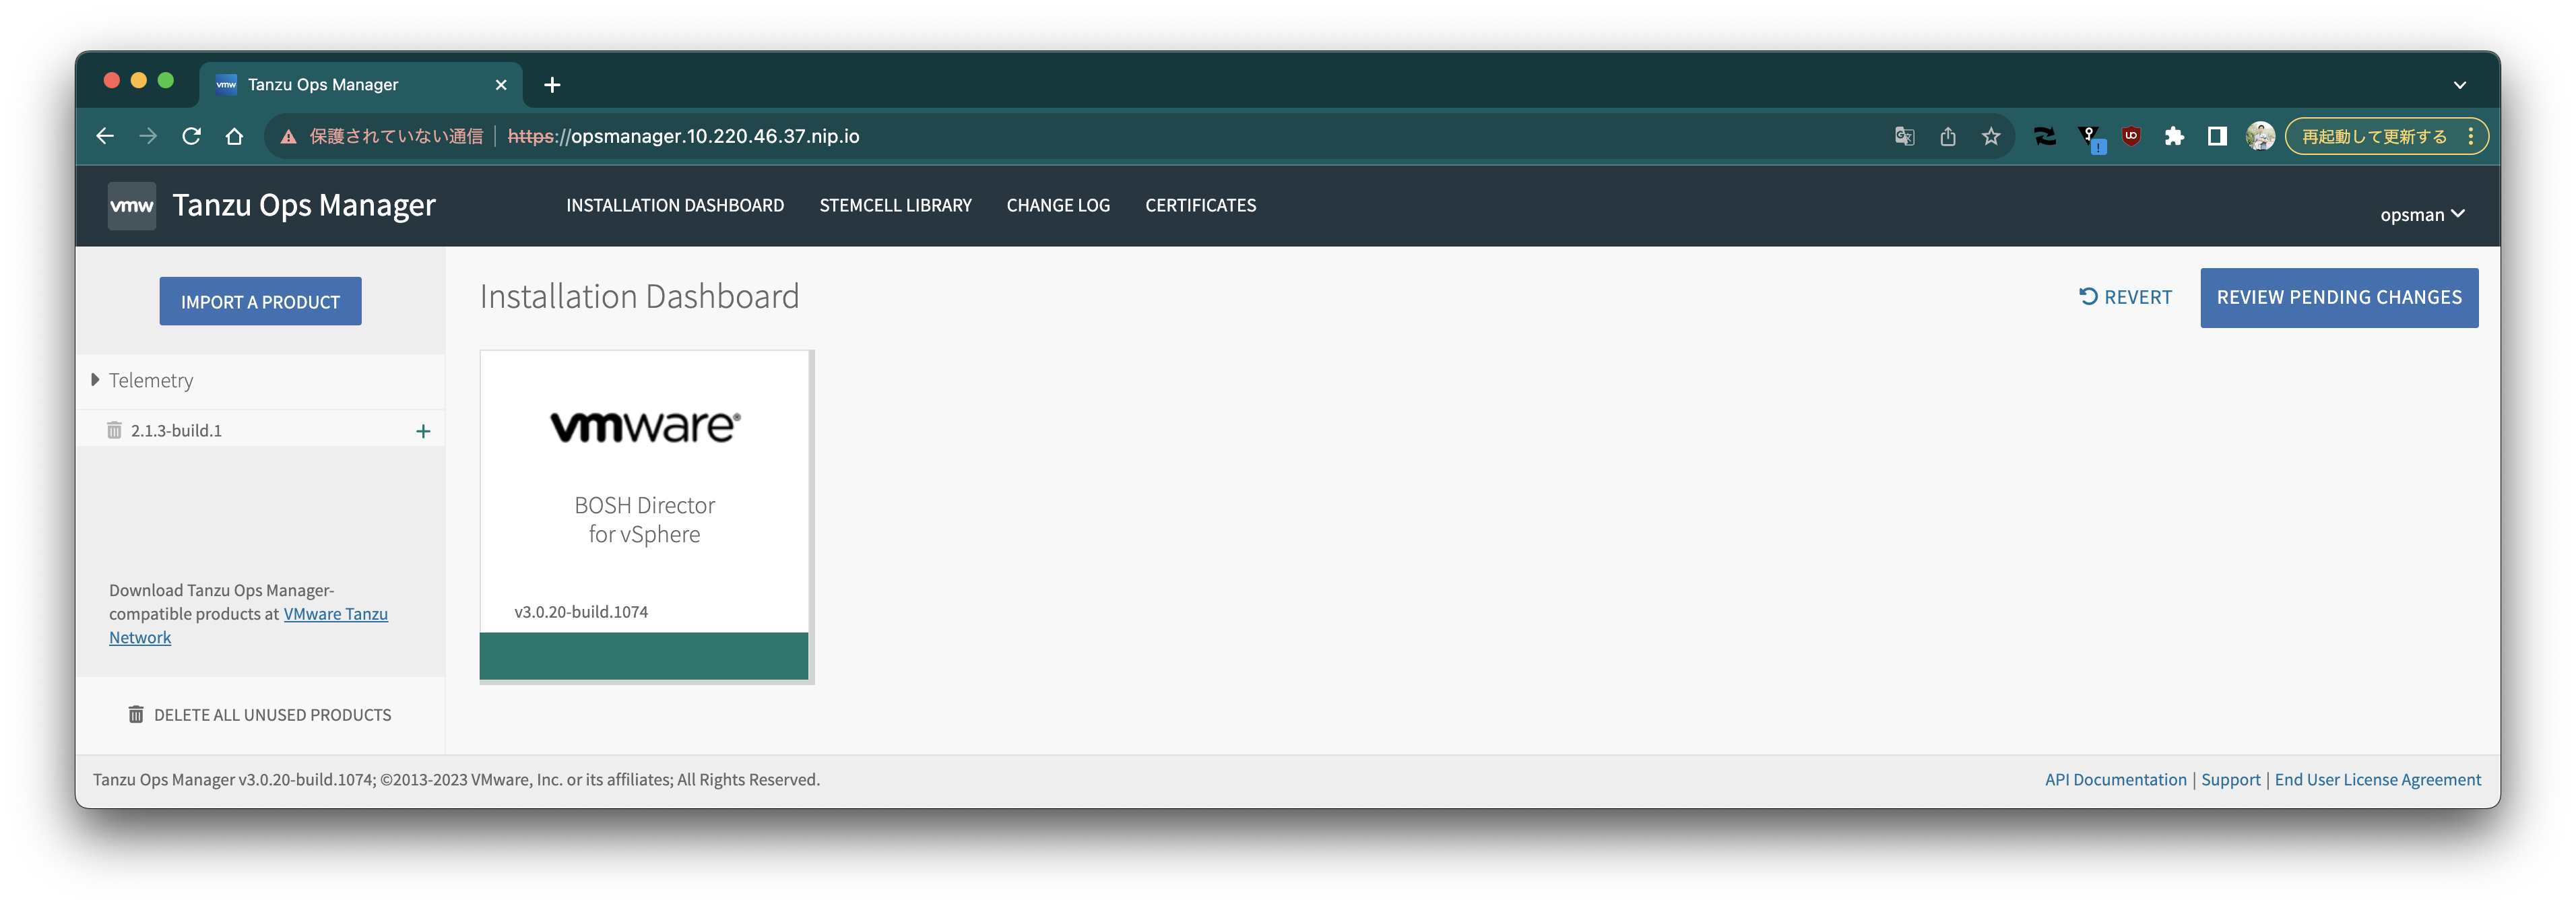
UIにアクセスすると、オレンジ色だったバーが緑色になります。
### BOSH Directorのインストール
BOSH Directorの設定はCLIで行います。設定ファイルの雛形を次のコマンドで取得します。
```
om --env env.yml staged-director-config --no-redact > director.yml
```
設定を埋めます。以下は例です。
```yaml
az-configuration:
- name: az01
iaas_configuration_name: default
clusters:
- cluster: vc01cl01
drs_rule: MUST
host_group: null
resource_pool: tas
iaas-configurations:
- additional_cloud_properties: {}
bosh_disk_path: pcf_disk
bosh_template_folder: pcf_templates
bosh_vm_folder: pcf_vms
datacenter: vc01
disk_type: thin
enable_human_readable_name: true
ephemeral_datastore_clusters_string: ""
ephemeral_datastores_string: vsanDatastore
name: default
nsx_networking_enabled: false
persistent_datastore_clusters_string: ""
persistent_datastores_string: vsanDatastore
ssl_verification_enabled: false
vcenter_ca_certificate: |-
-----BEGIN CERTIFICATE-----
vCenterのCA証明書
取得方法: https://cloud.google.com/anthos/clusters/docs/on-prem/latest/how-to/vcenter-ca-cert-path
-----END CERTIFICATE-----
vcenter_host: vc01.example.com
vcenter_password: "*****"
vcenter_username: administrator@vsphere.local
network-assignment:
network:
name: infrastructure
other_availability_zones: []
singleton_availability_zone:
name: az01
networks-configuration:
icmp_checks_enabled: true
networks:
- name: infrastructure
subnets:
- iaas_identifier: user-workload
cidr: 192.168.10.0/24
dns: 8.8.8.8
gateway: 192.168.10.1
reserved_ip_ranges: 192.168.10.1-192.168.10.10
availability_zone_names:
- az01
- name: deployment
subnets:
- iaas_identifier: user-workload
cidr: 192.168.12.0/24
dns: 8.8.8.8
gateway: 192.168.12.1
reserved_ip_ranges: 192.168.12.1-192.168.12.10
availability_zone_names:
- az01
- name: services
subnets:
- iaas_identifier: user-workload
cidr: 192.168.14.0/24
dns: 8.8.8.8
gateway: 192.168.14.1
reserved_ip_ranges: 192.168.14.1-192.168.14.10
availability_zone_names:
- az01
properties-configuration:
director_configuration:
additional_ssh_users: []
automatic_certificate_rotation_enabled: false
blobstore_type: local
bosh_director_recreate_on_next_deploy: false
bosh_recreate_on_next_deploy: false
bosh_recreate_persistent_disks_on_next_deploy: false
ca_certificate_duration: 3650
database_type: internal
director_metrics_server_enabled: true
director_worker_count: 5
duration_overrides_enabled: true
encryption:
keys: []
providers: []
hm_emailer_options:
enabled: false
hm_pager_duty_options:
enabled: false
identification_tags: {}
job_configuration_on_tmpfs: false
keep_unreachable_vms: false
leaf_certificate_duration: 3650
local_blobstore_options:
enable_signed_urls: true
ntp_servers_string: time.google.com
post_deploy_enabled: false
resurrector_enabled: true
retry_bosh_deploys: false
short_lived_nats_bootstrap_credentials_enabled: false
skip_director_drain: false
system_metrics_runtime_enabled: true
dns_configuration:
excluded_recursors: []
handlers: []
security_configuration:
clear_default_trusted_certificates_store: false
generate_vm_passwords: true
opsmanager_root_ca_trusted_certs: true
syslog_configuration:
enabled: false
resource-configuration:
compilation:
additional_networks: []
additional_vm_extensions: []
instance_type:
id: automatic
instances: automatic
nsxt:
lb:
server_pools: []
ns_groups: []
swap_as_percent_of_memory_size: automatic
director:
additional_networks: []
additional_vm_extensions: []
instance_type:
id: automatic
instances: automatic
nsxt:
lb:
server_pools: []
ns_groups: []
persistent_disk:
name: automatic
size_mb: automatic
swap_as_percent_of_memory_size: automatic
vmextensions-configuration: []
vmtypes-configuration: {}
```
`om`コマンドで設定を反映します。
```
om --env env.yml configure-director -c director.yml
```
UIにアクセスすると、オレンジ色だったバーが緑色になります。
 次のコマンドで設定を反映させます。
```
om --env env.yml apply-changes
```
次のコマンドで設定を反映させます。
```
om --env env.yml apply-changes
```
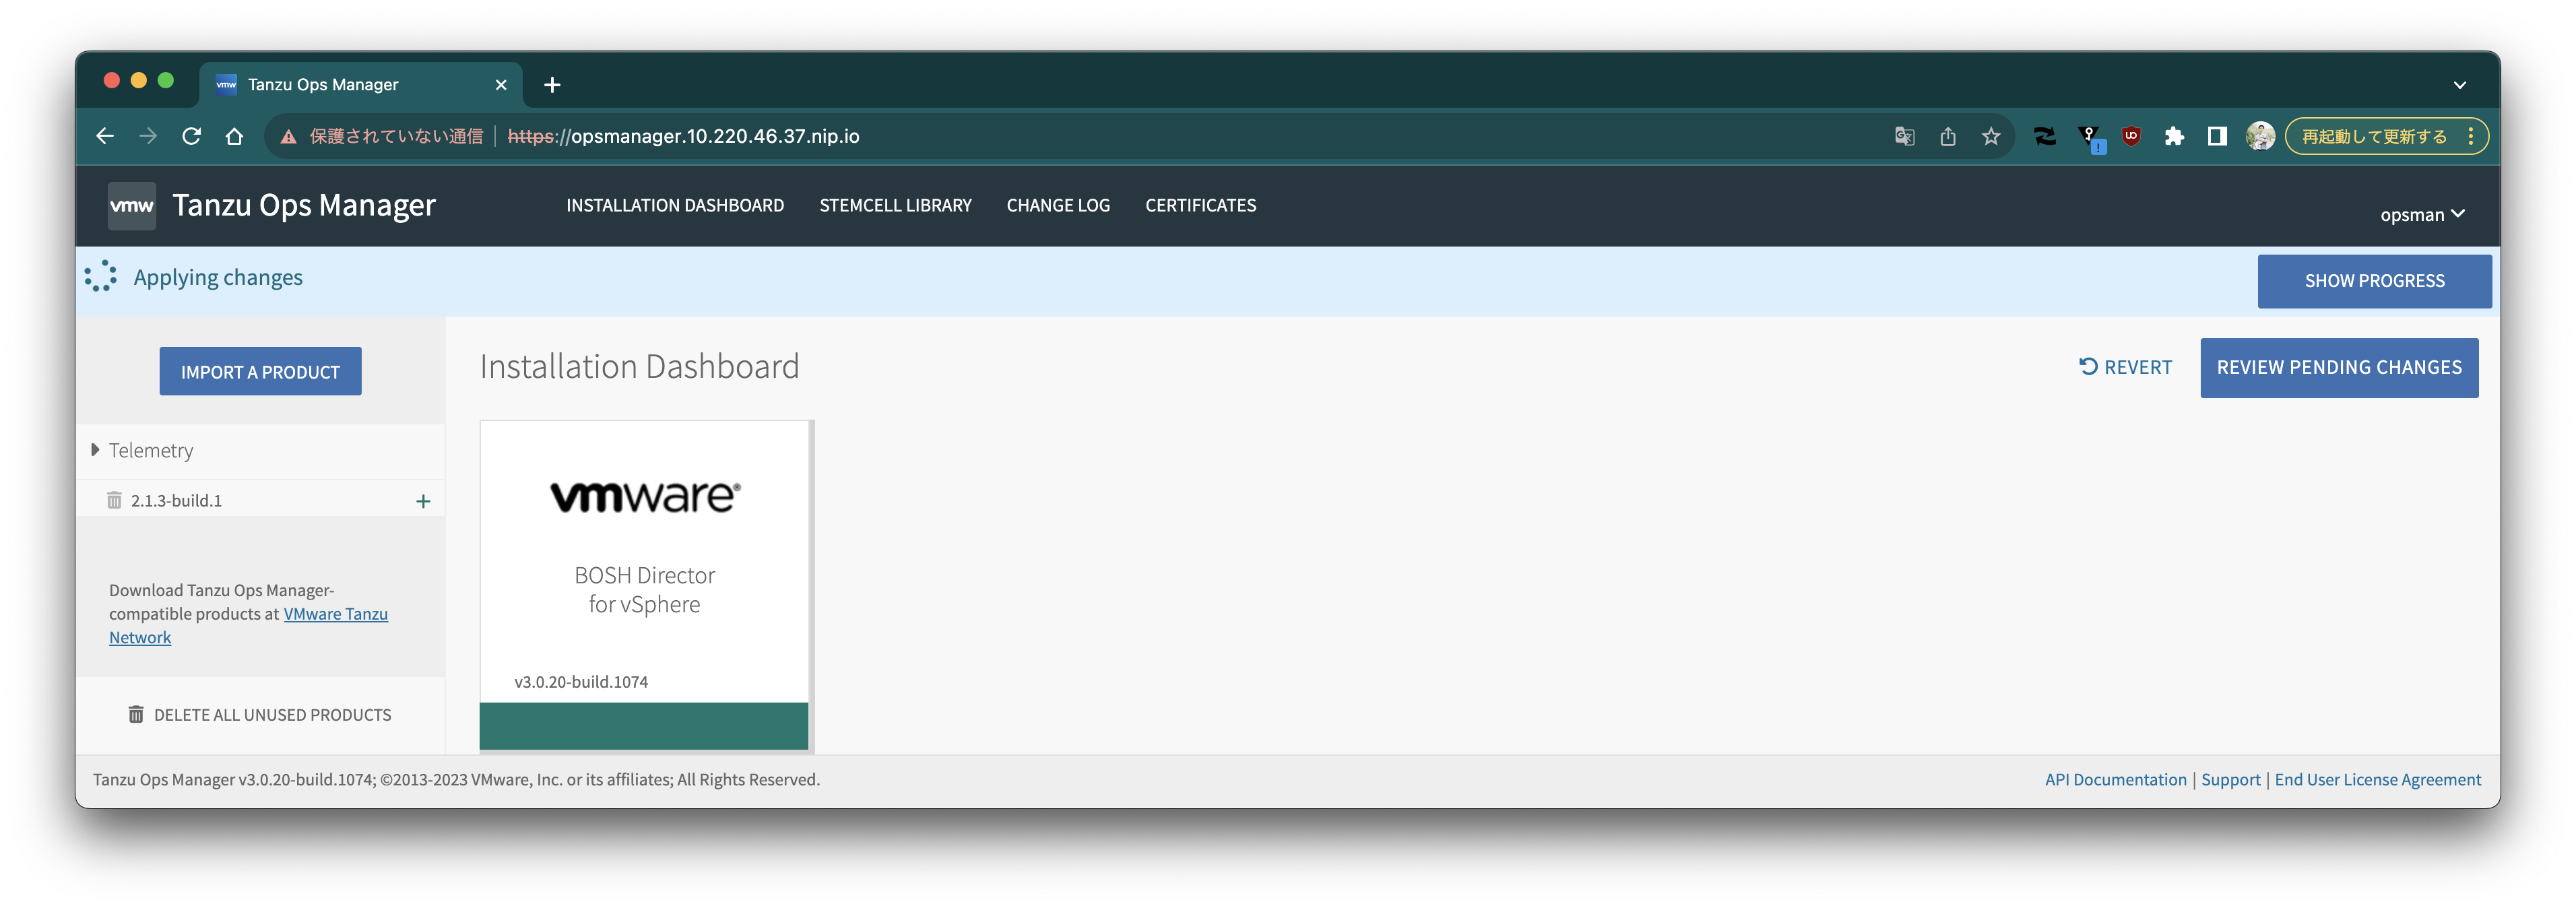 反映が完了すると、UI上にも"Changes Applied"と表示されます。
 ### BOSH Directorにアクセス
```
$ eval "$(om --env env.yml bosh-env)"
$ bosh vms
Using environment '10.220.46.38' as client 'ops_manager'
Succeeded
```
### BOSH Directorにアクセス
```
$ eval "$(om --env env.yml bosh-env)"
$ bosh vms
Using environment '10.220.46.38' as client 'ops_manager'
Succeeded
```