---
title: Installing MicroK8s on a Home Server
tags: ["Kubernetes", "MicroK8s", "NFS", "Synology", "NAS"]
categories: ["Dev", "CaaS", "Kubernetes", "MicroK8s"]
date: 2023-12-22T13:21:59Z
updated: 2023-12-22T14:21:36Z
---
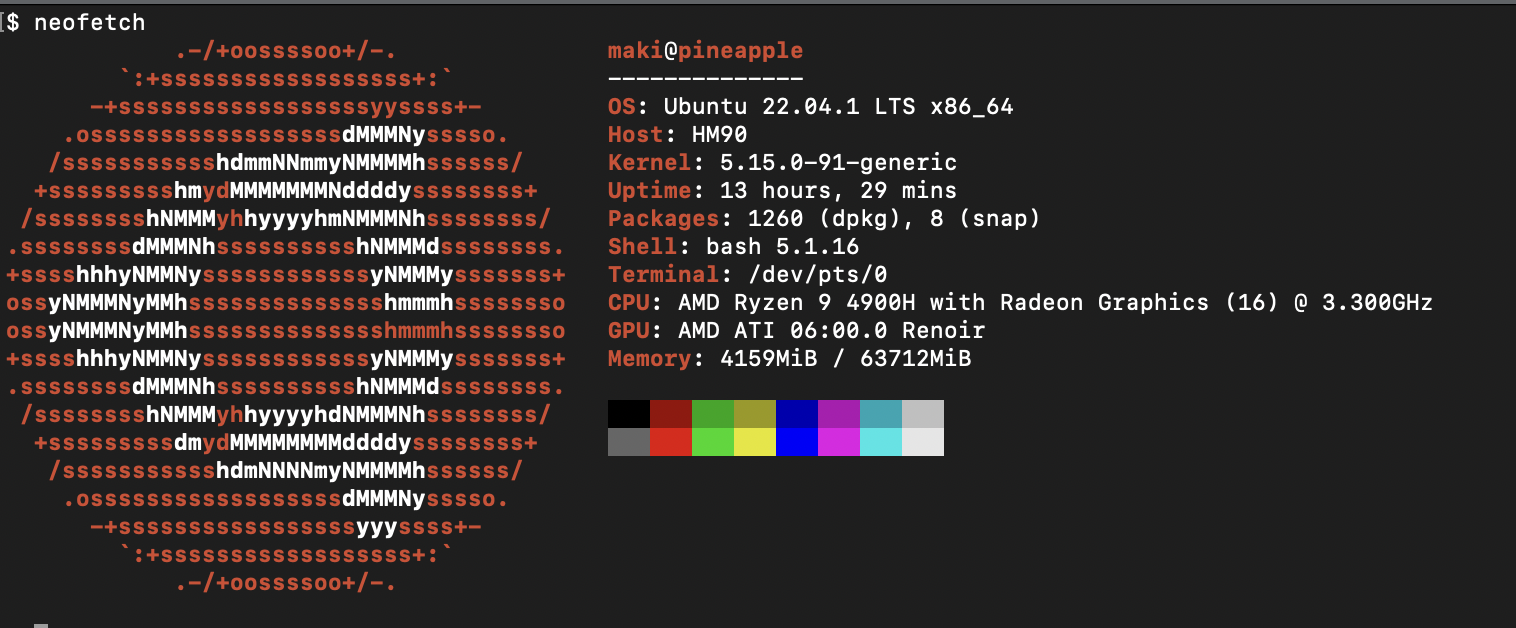
I decided to use [MicroK8s](https://microk8s.io/) as the K8s distribution to operate on my home server, so here's a memo on how to set it up.
Here's the environment I tried it on:
 ```
KUBERNETES_VERSION=1.28
IPADDR=$(ip a show eno1 | grep inet | grep -v inet6 | head -1 | awk '{print $2}' | cut -f1 -d/)
```
MicroK8s is installed via snap.
```
sudo apt-get install -y snapd
sudo snap install microk8s --classic --channel=${KUBERNETES_VERSION}/stable
sudo microk8s status --wait-ready
```
Add the user to the microk8s group.
```
sudo usermod -a -G microk8s $USER
sudo chown -R $USER ~/.kube
newgrp microk8s
```
Change the settings so that you can access the API Server from a terminal on the same network.
```
sudo sed -i.bak "s/#MOREIPS/IP.3 = ${IPADDR}\nDNS.6 = *.sslip.io\nDNS.7 = *.maki.lol\nDNS.8 = *.ik.am/g" /var/snap/microk8s/current/certs/csr.conf.template
echo "--advertise-address ${IPADDR}" | sudo tee -a /var/snap/microk8s/current/args/kube-apiserver
echo "--node-ip ${IPADDR}" | sudo tee -a /var/snap/microk8s/current/args/kubelet
sudo microk8s refresh-certs --cert ca.crt
sudo snap restart microk8s
```
Add the addon.
```
microk8s enable helm3
microk8s enable rbac
microk8s enable dns
microk8s enable metrics-server
```
Set up MetalLB. Here, the fourth octet of the same network can be used as an External IP from 210 to 219.
```
microk8s enable metallb:$(echo $IPADDR | awk -F '.' '{print $1 "." $2 "." $3}').$(echo $((N * 10 + 210)))-$(echo $IPADDR | awk -F '.' '{print $1 "." $2 "." $3}').$(echo $((N * 10 + 219)))
```
The following command generates a config file for `kubectl`. Copy this to your terminal and set its path as the `KUBECONFIG` environment variable.
```
microk8s config
```
Check that you can access the API Server.
```
$ kubectl cluster-info
Kubernetes control plane is running at https://192.168.11.95:16443
CoreDNS is running at https://192.168.11.95:16443/api/v1/namespaces/kube-system/services/kube-dns:dns/proxy
To further debug and diagnose cluster problems, use 'kubectl cluster-info dump'.
```
The list of Pods at this point is as follows.
```
$ kubectl get pod -A
NAMESPACE NAME READY STATUS RESTARTS AGE
kube-system calico-kube-controllers-77bd7c5b-phvll 1/1 Running 0 127m
kube-system calico-node-47df7 1/1 Running 0 127m
kube-system coredns-864597b5fd-vzt5d 1/1 Running 0 127m
kube-system metrics-server-848968bdcd-l6drh 1/1 Running 0 116m
metallb-system controller-5f7bb57799-pzbbk 1/1 Running 0 66m
metallb-system speaker-lldsl 1/1 Running 0 66m
kube-system csi-nfs-node-4cmws 3/3 Running 0 56m
kube-system csi-nfs-controller-8445b65669-hgzw9 4/4 Running 0 56m
```
Set up the Storage Class. Here, I use my home NAS (Synology NAS) as an NSF Server and set up the NFS CSI Driver.
> ℹ️ For Synology NAS NFS settings, please refer to https://benyoung.blog/persistent-storage-class-in-kubernetes-backed-by-synology-nfs/.
```
microk8s helm3 repo add csi-driver-nfs https://raw.githubusercontent.com/kubernetes-csi/csi-driver-nfs/master/charts
microk8s helm3 repo update
microk8s helm3 install csi-driver-nfs csi-driver-nfs/csi-driver-nfs \
--namespace kube-system \
--set kubeletDir=/var/snap/microk8s/common/var/lib/kubelet
NFS_SERVER_IP=...
NFS_SERVER_PATH=/volume1/nfs
cat < sc.yaml
apiVersion: storage.k8s.io/v1
kind: StorageClass
metadata:
name: nfs-csi
annotations:
storageclass.kubernetes.io/is-default-class: "true"
provisioner: nfs.csi.k8s.io
parameters:
server: ${NFS_SERVER_IP}
share: ${NFS_SERVER_PATH}
reclaimPolicy: Delete
volumeBindingMode: Immediate
mountOptions:
- hard
- nfsvers=4.1
EOF
kubectl apply -f sc.yaml
```
```
$ kubectl get storageclass
NAME PROVISIONER RECLAIMPOLICY VOLUMEBINDINGMODE ALLOWVOLUMEEXPANSION AGE
nfs-csi (default) nfs.csi.k8s.io Delete Immediate false 33m
```
Create a PVC like the following.
```yaml
kubectl apply -f- << EOF
---
kind: PersistentVolumeClaim
apiVersion: v1
metadata:
name: test-dynamic-volume-claim
spec:
accessModes:
- ReadWriteMany
resources:
requests:
storage: 1Gi
---
EOF
```
I was able to create a PV with RWX.
```
$ kubectl get pvc
NAME STATUS VOLUME CAPACITY ACCESS MODES STORAGECLASS AGE
test-dynamic-volume-claim Bound pvc-914db69c-239a-4057-866e-d01b3ba93920 1Gi RWX nfs-csi 7s
```
You can also check the folder on the NAS side.
```
KUBERNETES_VERSION=1.28
IPADDR=$(ip a show eno1 | grep inet | grep -v inet6 | head -1 | awk '{print $2}' | cut -f1 -d/)
```
MicroK8s is installed via snap.
```
sudo apt-get install -y snapd
sudo snap install microk8s --classic --channel=${KUBERNETES_VERSION}/stable
sudo microk8s status --wait-ready
```
Add the user to the microk8s group.
```
sudo usermod -a -G microk8s $USER
sudo chown -R $USER ~/.kube
newgrp microk8s
```
Change the settings so that you can access the API Server from a terminal on the same network.
```
sudo sed -i.bak "s/#MOREIPS/IP.3 = ${IPADDR}\nDNS.6 = *.sslip.io\nDNS.7 = *.maki.lol\nDNS.8 = *.ik.am/g" /var/snap/microk8s/current/certs/csr.conf.template
echo "--advertise-address ${IPADDR}" | sudo tee -a /var/snap/microk8s/current/args/kube-apiserver
echo "--node-ip ${IPADDR}" | sudo tee -a /var/snap/microk8s/current/args/kubelet
sudo microk8s refresh-certs --cert ca.crt
sudo snap restart microk8s
```
Add the addon.
```
microk8s enable helm3
microk8s enable rbac
microk8s enable dns
microk8s enable metrics-server
```
Set up MetalLB. Here, the fourth octet of the same network can be used as an External IP from 210 to 219.
```
microk8s enable metallb:$(echo $IPADDR | awk -F '.' '{print $1 "." $2 "." $3}').$(echo $((N * 10 + 210)))-$(echo $IPADDR | awk -F '.' '{print $1 "." $2 "." $3}').$(echo $((N * 10 + 219)))
```
The following command generates a config file for `kubectl`. Copy this to your terminal and set its path as the `KUBECONFIG` environment variable.
```
microk8s config
```
Check that you can access the API Server.
```
$ kubectl cluster-info
Kubernetes control plane is running at https://192.168.11.95:16443
CoreDNS is running at https://192.168.11.95:16443/api/v1/namespaces/kube-system/services/kube-dns:dns/proxy
To further debug and diagnose cluster problems, use 'kubectl cluster-info dump'.
```
The list of Pods at this point is as follows.
```
$ kubectl get pod -A
NAMESPACE NAME READY STATUS RESTARTS AGE
kube-system calico-kube-controllers-77bd7c5b-phvll 1/1 Running 0 127m
kube-system calico-node-47df7 1/1 Running 0 127m
kube-system coredns-864597b5fd-vzt5d 1/1 Running 0 127m
kube-system metrics-server-848968bdcd-l6drh 1/1 Running 0 116m
metallb-system controller-5f7bb57799-pzbbk 1/1 Running 0 66m
metallb-system speaker-lldsl 1/1 Running 0 66m
kube-system csi-nfs-node-4cmws 3/3 Running 0 56m
kube-system csi-nfs-controller-8445b65669-hgzw9 4/4 Running 0 56m
```
Set up the Storage Class. Here, I use my home NAS (Synology NAS) as an NSF Server and set up the NFS CSI Driver.
> ℹ️ For Synology NAS NFS settings, please refer to https://benyoung.blog/persistent-storage-class-in-kubernetes-backed-by-synology-nfs/.
```
microk8s helm3 repo add csi-driver-nfs https://raw.githubusercontent.com/kubernetes-csi/csi-driver-nfs/master/charts
microk8s helm3 repo update
microk8s helm3 install csi-driver-nfs csi-driver-nfs/csi-driver-nfs \
--namespace kube-system \
--set kubeletDir=/var/snap/microk8s/common/var/lib/kubelet
NFS_SERVER_IP=...
NFS_SERVER_PATH=/volume1/nfs
cat < sc.yaml
apiVersion: storage.k8s.io/v1
kind: StorageClass
metadata:
name: nfs-csi
annotations:
storageclass.kubernetes.io/is-default-class: "true"
provisioner: nfs.csi.k8s.io
parameters:
server: ${NFS_SERVER_IP}
share: ${NFS_SERVER_PATH}
reclaimPolicy: Delete
volumeBindingMode: Immediate
mountOptions:
- hard
- nfsvers=4.1
EOF
kubectl apply -f sc.yaml
```
```
$ kubectl get storageclass
NAME PROVISIONER RECLAIMPOLICY VOLUMEBINDINGMODE ALLOWVOLUMEEXPANSION AGE
nfs-csi (default) nfs.csi.k8s.io Delete Immediate false 33m
```
Create a PVC like the following.
```yaml
kubectl apply -f- << EOF
---
kind: PersistentVolumeClaim
apiVersion: v1
metadata:
name: test-dynamic-volume-claim
spec:
accessModes:
- ReadWriteMany
resources:
requests:
storage: 1Gi
---
EOF
```
I was able to create a PV with RWX.
```
$ kubectl get pvc
NAME STATUS VOLUME CAPACITY ACCESS MODES STORAGECLASS AGE
test-dynamic-volume-claim Bound pvc-914db69c-239a-4057-866e-d01b3ba93920 1Gi RWX nfs-csi 7s
```
You can also check the folder on the NAS side.
 Once confirmed, delete the PVC.
```
kubectl delete pvc test-dynamic-volume-claim
```
> If you don't have an NFS Server, you can use [hostpath](https://microk8s.io/docs/addon-hostpath-storage) as the Storage Class with the following command.
>
> ```
> microk8s enable hostpath-storage
> ```
Once confirmed, delete the PVC.
```
kubectl delete pvc test-dynamic-volume-claim
```
> If you don't have an NFS Server, you can use [hostpath](https://microk8s.io/docs/addon-hostpath-storage) as the Storage Class with the following command.
>
> ```
> microk8s enable hostpath-storage
> ```