VMware Tanzu Gemfire 10.1をOrbStackのLinux Machine上のRocky Linuxにインストールするメモ
VMware Tanzu Gemfire 10.1をRocky Linuxにインストールします。
この記事ではRocky Linux環境として、OrbStackのLinux Machineを使用します。
VMware Tanzu Gemfire 10.1からJava 21がサポートされたため、今回は最新のJava 21を使用します。cloud-configファイルでJava 21 OpenJDKをインストールし、Gemfireユーザーの作成やメモリ設定などの環境構築も行います。
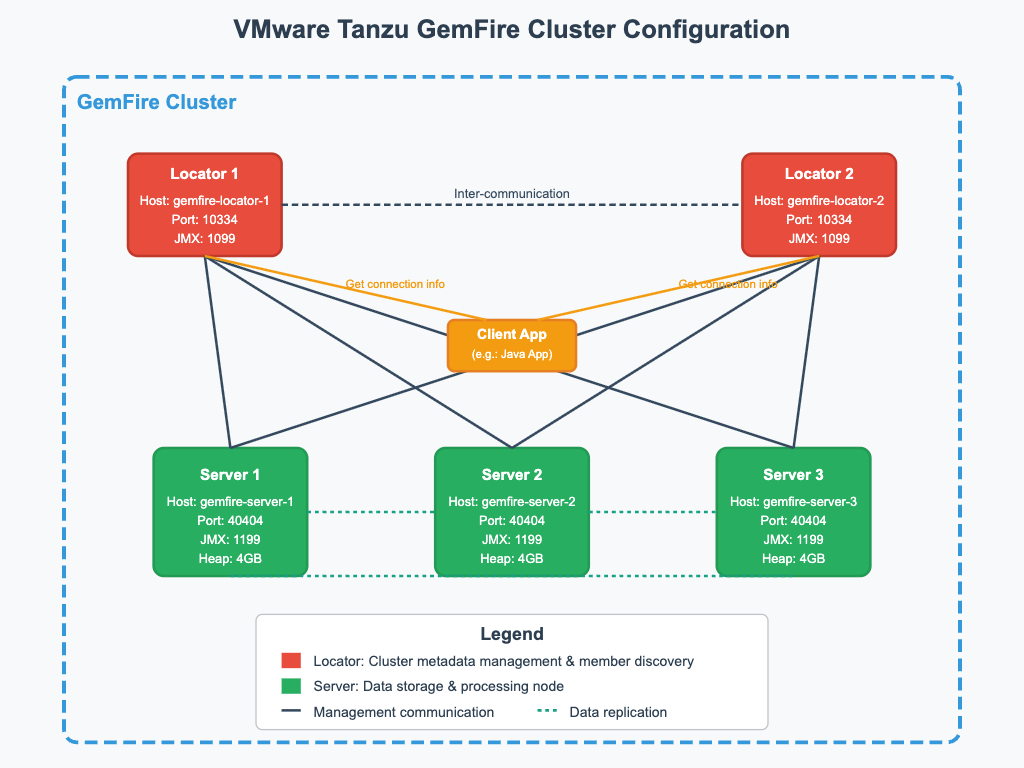
次の図のようなGemfireクラスター(Locator x 2, Server x 2)を構築します:
VMware Tanzu Gemfireのダウンロード
- Broadcom Customer Support Portalにログインしてください。
- VMware Tanzu GemFireダウンロードページに移動してください。VMware Tanzu GemFireを選択し、Show All Releasesをクリックして、バージョンを選択してください。
- "I agree to Terms and Conditions"をクリックしてください。VMware GemFireの横にあるHTTPS Downloadアイコンをクリックしてダウンロードしてください。
ここでは~/Downloads/vmware-gemfire-10.1.3.tgzにダウンロードされたとします。
次のコマンドで展開します。
mkdir -p ~/gemfire
tar -xzvf ~/Downloads/vmware-gemfire-10.1.3.tgz -C ~/gemfire
OrbStackのLinux Machine上ではホストのファイルシステムがマウントされるので、/Users/toshiaki/gemfire/vmware-gemfire-10.1.3にアクセスできます。
Linux Machineの作成
最初のLocatorマシンを作成し、cloud-configで環境を設定します:
cat <<'EOF' > cloud-init-gemfire.yaml
#cloud-config

packages:
  - java-21-openjdk-devel
  - curl
  - wget
  - zip
  - unzip
  - lsof

write_files:
  - path: /etc/profile.d/java.sh
    content: |
      export JAVA_HOME=/usr/lib/jvm/java
      export PATH=$PATH:$JAVA_HOME/bin
    permissions: '0644'
    owner: root:root
  - path: /etc/profile.d/gemfire.sh
    content: |
      export GEMFIRE_HOME=/Users/toshiaki/gemfire/vmware-gemfire-10.1.3
      export PATH=$PATH:$GEMFIRE_HOME/bin
    permissions: '0644'
    owner: root:root
  - path: /etc/sysctl.d/99-gemfire.conf
    content: |
      net.ipv4.tcp_syncookies=0
    permissions: '0644'
    owner: root:root

runcmd:
  - groupadd -r gemfire
  - useradd -r -g gemfire -d /opt/gemfire -s /bin/bash gemfire
  - mkdir -p /opt/gemfire
  - chown -R gemfire:gemfire /opt/gemfire
  - sysctl -p /etc/sysctl.d/99-gemfire.conf

package_update: true
package_upgrade: false
EOF
次のコマンドでRocky Linux 8のLinux Machineを作成します。
orb create rocky:8 gemfire-locator-1 -c cloud-init-gemfire.yaml
作成したMachineをクローンして、冗長化のためのLocator(gemfire-locator-2)と3つのServer(gemfire-server-1,2,3)を作成します。Gemfireクラスターでは複数のLocatorによる冗長化と、複数のServerによるデータの分散・レプリケーションが可能です:
orbctl clone gemfire-locator-1 gemfire-locator-2
orbctl clone gemfire-locator-1 gemfire-server-1
orbctl clone gemfire-locator-1 gemfire-server-2
orbctl clone gemfire-locator-1 gemfire-server-3

orbctl start gemfire-locator-2
orbctl start gemfire-server-1
orbctl start gemfire-server-2
orbctl start gemfire-server-3
Locatorの起動
Locatorはクラスターのメンバー探索とメタデータの管理を行います。まず最初のLocatorを起動します:
orb -m gemfire-locator-1 -u gemfire gfsh start locator --name=locator-1 --port=10334 --hostname-for-clients=gemfire-locator-1.orb.local --jmx-manager-hostname-for-clients=gemfire-locator-1.orb.local --locators="gemfire-locator-1.orb.local[10334],gemfire-locator-2.orb.local[10334]" --max-heap=4g --dir=/opt/gemfire
次に2つ目のLocatorを起動して冗長化を図ります:
orb -m gemfire-locator-2 -u gemfire gfsh start locator --name=locator-2 --port=10334 --hostname-for-clients=gemfire-locator-2.orb.local --jmx-manager-hostname-for-clients=gemfire-locator-1.orb.local --locators="gemfire-locator-1.orb.local[10334],gemfire-locator-2.orb.local[10334]" --max-heap=4g --dir=/opt/gemfire
Locatorの起動確認
クラスターに接続してメンバーリストを確認します:
$ orb -m gemfire-locator-1 -u gemfire gfsh -e 'connect --locator=gemfire-locator-1.orb.local[10334]' -e 'list members'


(1) Executing - connect --locator=gemfire-locator-1.orb.local[10334]

Connecting to Locator at [host=gemfire-locator-1.orb.local, port=10334] ..
Connecting to Manager at [host=gemfire-locator-1.orb.local, port=1099] ..
Successfully connected to: [host=gemfire-locator-1.orb.local, port=1099]

You are connected to a cluster of version 10.1.3.


(2) Executing - list members

Member Count : 2

  Name    |                                 Id                                 |  Type   | Status
--------- | ------------------------------------------------------------------ | ------- | ------
locator-1 | 198.19.249.204(locator-1:2234:locator)<ec><v0>:58297 [Coordinator] | Locator | Ready
locator-2 | 198.19.249.17(locator-2:2250:locator)<ec><v5>:55079                | Locator | Ready
2つのLocatorが正常に起動していることが確認できます。
Serverの起動
データの格納するServerを3台起動します:
orb -m gemfire-server-1 -u gemfire gfsh start server --name=server-1 --locators="gemfire-locator-1.orb.local[10334],gemfire-locator-2.orb.local[10334]" --hostname-for-clients=gemfire-server-1.orb.local --jmx-manager-hostname-for-clients=gemfire-server-1.orb.local --max-heap=4g --dir=/opt/gemfire
orb -m gemfire-server-2 -u gemfire gfsh start server --name=server-2 --locators="gemfire-locator-1.orb.local[10334],gemfire-locator-2.orb.local[10334]" --hostname-for-clients=gemfire-server-2.orb.local --jmx-manager-hostname-for-clients=gemfire-server-2.orb.local --max-heap=4g --dir=/opt/gemfire
orb -m gemfire-server-3 -u gemfire gfsh start server --name=server-3 --locators="gemfire-locator-1.orb.local[10334],gemfire-locator-2.orb.local[10334]" --hostname-for-clients=gemfire-server-3.orb.local --jmx-manager-hostname-for-clients=gemfire-server-3.orb.local --max-heap=4g --dir=/opt/gemfire
Server起動後、再度メンバーリストを確認すると5つのメンバー(Locator 2個、Server 3個)が表示されます:
$ orb -m gemfire-locator-1 -u gemfire gfsh -e 'connect --locator=gemfire-locator-1.orb.local[10334]' -e 'list members'

(1) Executing - connect --locator=gemfire-locator-1.orb.local[10334]

Connecting to Locator at [host=gemfire-locator-1.orb.local, port=10334] ..
Connecting to Manager at [host=gemfire-locator-1.orb.local, port=1099] ..
Successfully connected to: [host=gemfire-locator-1.orb.local, port=1099]

You are connected to a cluster of version 10.1.3.


(2) Executing - list members

Member Count : 5

  Name    |                                 Id                                 |  Type   | Status
--------- | ------------------------------------------------------------------ | ------- | ------
locator-1 | 198.19.249.204(locator-1:2234:locator)<ec><v0>:58297 [Coordinator] | Locator | Ready
locator-2 | 198.19.249.17(locator-2:2250:locator)<ec><v5>:55079                | Locator | Ready
server-1  | 198.19.249.223(server-1:880)<v6>:51031                             | Server  | Ready
server-2  | 198.19.249.93(server-2:811)<v7>:47742                              | Server  | Ready
server-3  | 198.19.249.81(server-3:770)<v8>:59550                              | Server  | Ready
Regionの作成とデータ操作
Gemfireではデータを格納するための領域をRegionと呼びます。gfshシェルを起動してクラスターに接続します:
orb -m gemfire-locator-1 -u gemfire gfsh
connect --locator=gemfire-locator-1.orb.local[10334]
PARTITION_PERSISTENTタイプのRegionを作成し、冗長度1(各データが2つのServerに保存される)を設定します。その後、テストデータを追加します:
create region --name demo --type=PARTITION_PERSISTENT --redundant-copies=1

put --region=/demo --key=aaa --value=1
put --region=/demo --key=bbb --value=2
put --region=/demo --key=ccc --value=3
put --region=/demo --key=ddd --value=4
put --region=/demo --key=eee --value=5
データが正しく保存されているかをクエリで確認します:
gfsh>query --query="SELECT * FROM /demo"
Result : true
Limit  : 100
Rows   : 5

Result
------
3
5
2
1
4
gfsh>locate entry --region=/demo --key=aaa
Result          : true
Key Class       : java.lang.String
Key             : aaa
Locations Found : 2

MemberName |                MemberId                |   Primary    | BucketId
---------- | -------------------------------------- | ------------ | --------
server-3   | 198.19.249.118(server-3:768)<v4>:55213 | *Primary PR* | 45
server-2   | 198.19.249.129(server-2:820)<v3>:43383 | No           | 45

gfsh>locate entry --region=/demo --key=bbb
Result          : true
Key Class       : java.lang.String
Key             : bbb
Locations Found : 2

MemberName |                MemberId                |   Primary    | BucketId
---------- | -------------------------------------- | ------------ | --------
server-2   | 198.19.249.129(server-2:820)<v3>:43383 | *Primary PR* | 21
server-1   | 198.19.249.241(server-1:877)<v2>:53253 | No           | 21

gfsh>locate entry --region=/demo --key=ccc
Result          : true
Key Class       : java.lang.String
Key             : ccc
Locations Found : 2

MemberName |                MemberId                |   Primary    | BucketId
---------- | -------------------------------------- | ------------ | --------
server-3   | 198.19.249.118(server-3:768)<v4>:55213 | No           | 110
server-1   | 198.19.249.241(server-1:877)<v2>:53253 | *Primary PR* | 110

gfsh>locate entry --region=/demo --key=ddd
Result          : true
Key Class       : java.lang.String
Key             : ddd
Locations Found : 2

MemberName |                MemberId                |   Primary    | BucketId
---------- | -------------------------------------- | ------------ | --------
server-1   | 198.19.249.241(server-1:877)<v2>:53253 | No           | 86
server-2   | 198.19.249.129(server-2:820)<v3>:43383 | *Primary PR* | 86

gfsh>locate entry --region=/demo --key=eee
Result          : true
Key Class       : java.lang.String
Key             : eee
Locations Found : 2

MemberName |                MemberId                |   Primary    | BucketId
---------- | -------------------------------------- | ------------ | --------
server-3   | 198.19.249.118(server-3:768)<v4>:55213 | *Primary PR* | 62
server-1   | 198.19.249.241(server-1:877)<v2>:53253 | No           | 62
結果を見ると、各エントリが冗長度1の設定通り、プライマリとセカンダリの2つのServerに分散配置されていることがわかります。
耐障害性のテスト
Gemfireの耐障害性を確認するため、1つのServerを停止してみます:
stop server --name=server-1
gfsh>query --query="SELECT * FROM /demo"
Result : true
Limit  : 100
Rows   : 5

Result
------
3
5
2
1
4
server-1を停止しても、データへのアクセスは継続できます:
gfsh>locate entry --region=/demo --key=aaa
Result          : true
Key Class       : java.lang.String
Key             : aaa
Locations Found : 2

MemberName |                MemberId                |   Primary    | BucketId
---------- | -------------------------------------- | ------------ | --------
server-3   | 198.19.249.118(server-3:768)<v4>:55213 | *Primary PR* | 45
server-2   | 198.19.249.129(server-2:820)<v3>:43383 | No           | 45

gfsh>locate entry --region=/demo --key=bbb
Result          : true
Key Class       : java.lang.String
Key             : bbb
Locations Found : 1

MemberName |                MemberId                |   Primary    | BucketId
---------- | -------------------------------------- | ------------ | --------
server-2   | 198.19.249.129(server-2:820)<v3>:43383 | *Primary PR* | 21

gfsh>locate entry --region=/demo --key=ccc
Result          : true
Key Class       : java.lang.String
Key             : ccc
Locations Found : 1

MemberName |                MemberId                |   Primary    | BucketId
---------- | -------------------------------------- | ------------ | --------
server-3   | 198.19.249.118(server-3:768)<v4>:55213 | *Primary PR* | 110

gfsh>locate entry --region=/demo --key=ddd
Result          : true
Key Class       : java.lang.String
Key             : ddd
Locations Found : 1

MemberName |                MemberId                |   Primary    | BucketId
---------- | -------------------------------------- | ------------ | --------
server-2   | 198.19.249.129(server-2:820)<v3>:43383 | *Primary PR* | 86

gfsh>locate entry --region=/demo --key=eee
Result          : true
Key Class       : java.lang.String
Key             : eee
Locations Found : 1

MemberName |                MemberId                |   Primary    | BucketId
---------- | -------------------------------------- | ------------ | --------
server-3   | 198.19.249.118(server-3:768)<v4>:55213 | *Primary PR* | 62
server-1が停止したため、server-1にあったデータの冗長コピーが失われました。このような状況でデータの冗長性を回復するため、リバランス操作を実行します。
Note
create regionコマンドの‑‑recovery-delay=Xオプションを使用すると、メンバーのクラッシュ後のXミリ秒後に冗長を回復します。デフォルトは-1で、回復しません。
リバランスとデータ回復
データの分散バランスを調整し、冗長性を回復します:
rebalance --include-region=/demo
gfsh>locate entry --region=/demo --key=aaa
Result          : true
Key Class       : java.lang.String
Key             : aaa
Locations Found : 2

MemberName |                MemberId                |   Primary    | BucketId
---------- | -------------------------------------- | ------------ | --------
server-2   | 198.19.249.129(server-2:820)<v3>:43383 | No           | 45
server-3   | 198.19.249.118(server-3:768)<v4>:55213 | *Primary PR* | 45

gfsh>locate entry --region=/demo --key=bbb
Result          : true
Key Class       : java.lang.String
Key             : bbb
Locations Found : 2

MemberName |                MemberId                |   Primary    | BucketId
---------- | -------------------------------------- | ------------ | --------
server-2   | 198.19.249.129(server-2:820)<v3>:43383 | *Primary PR* | 21
server-3   | 198.19.249.118(server-3:768)<v4>:55213 | No           | 21

gfsh>locate entry --region=/demo --key=ccc
Result          : true
Key Class       : java.lang.String
Key             : ccc
Locations Found : 2

MemberName |                MemberId                |   Primary    | BucketId
---------- | -------------------------------------- | ------------ | --------
server-2   | 198.19.249.129(server-2:820)<v3>:43383 | No           | 110
server-3   | 198.19.249.118(server-3:768)<v4>:55213 | *Primary PR* | 110

gfsh>locate entry --region=/demo --key=ddd
Result          : true
Key Class       : java.lang.String
Key             : ddd
Locations Found : 2

MemberName |                MemberId                |   Primary    | BucketId
---------- | -------------------------------------- | ------------ | --------
server-2   | 198.19.249.129(server-2:820)<v3>:43383 | *Primary PR* | 86
server-3   | 198.19.249.118(server-3:768)<v4>:55213 | No           | 86

gfsh>locate entry --region=/demo --key=eee
Result          : true
Key Class       : java.lang.String
Key             : eee
Locations Found : 2

MemberName |                MemberId                |   Primary    | BucketId
---------- | -------------------------------------- | ------------ | --------
server-3   | 198.19.249.118(server-3:768)<v4>:55213 | *Primary PR* | 62
server-2   | 198.19.249.129(server-2:820)<v3>:43383 | No           | 62
リバランス後、全てのデータが再び冗長度1で保存されているのが確認できます。
Serverの再起動
別のターミナルで停止したserver-1を再起動します:
orb -m gemfire-server-1 -u gemfire gfsh start server --name=server-1 --locators="gemfire-locator-1.orb.local[10334],gemfire-locator-2.orb.local[10334]" --hostname-for-clients=gemfire-server-1.orb.local --jmx-manager-hostname-for-clients=gemfire-server-1.orb.local --max-heap=4g --dir=/opt/gemfire
gfsh>show metrics --member=server-1 --categories=region
Member Metrics

Category |            Metric            | Value
-------- | ---------------------------- | -----
region   | totalRegionCount             | 1
         | listOfRegions                | demo
         | rootRegions                  | /demo
         | totalRegionEntryCount        | 0
         | totalBucketCount             | 0
         | totalPrimaryBucketCount      | 0
         | getsAvgLatency               | 0
         | putsAvgLatency               | 0
         | createsRate                  | 0.0
         | destroyRate                  | 0.0
         | putAllAvgLatency             | 0
         | totalMissCount               | 0
         | totalHitCount                | 0
         | getsRate                     | 0.0
         | putsRate                     | 0.0
         | cacheWriterCallsAvgLatency   | 0
         | cacheListenerCallsAvgLatency | 3208
         | totalLoadsCompleted          | 0
再起動後、server-1はまだデータを持っていません(totalRegionEntryCount = 0):
rebalance --include-region=/demo
再度、リバランスを実行します。
gfsh>show metrics --member=server-1 --categories=region
Member Metrics

Category |            Metric            | Value
-------- | ---------------------------- | -----
region   | totalRegionCount             | 1
         | listOfRegions                | demo
         | rootRegions                  | /demo
         | totalRegionEntryCount        | 2
         | totalBucketCount             | 110
         | totalPrimaryBucketCount      | 38
         | getsAvgLatency               | 0
         | putsAvgLatency               | 0
         | createsRate                  | 0.0
         | destroyRate                  | 0.0
         | putAllAvgLatency             | 0
         | totalMissCount               | 0
         | totalHitCount                | 0
         | getsRate                     | 0.0
         | putsRate                     | 0.0
         | cacheWriterCallsAvgLatency   | 0
         | cacheListenerCallsAvgLatency | 3208
         | totalLoadsCompleted          | 0
リバランス後、server-1にデータが配置され、totalRegionEntryCount = 2 となりました:
gfsh>locate entry --region=/demo --key=aaa
Result          : true
Key Class       : java.lang.String
Key             : aaa
Locations Found : 2

MemberName |                MemberId                 |   Primary    | BucketId
---------- | --------------------------------------- | ------------ | --------
server-3   | 198.19.249.118(server-3:768)<v4>:55213  | *Primary PR* | 45
server-1   | 198.19.249.241(server-1:1402)<v6>:43416 | No           | 45

gfsh>locate entry --region=/demo --key=bbb
Result          : true
Key Class       : java.lang.String
Key             : bbb
Locations Found : 2

MemberName |                MemberId                 |   Primary    | BucketId
---------- | --------------------------------------- | ------------ | --------
server-2   | 198.19.249.129(server-2:820)<v3>:43383  | *Primary PR* | 21
server-1   | 198.19.249.241(server-1:1402)<v6>:43416 | No           | 21

gfsh>locate entry --region=/demo --key=ccc
Result          : true
Key Class       : java.lang.String
Key             : ccc
Locations Found : 2

MemberName |                MemberId                |   Primary    | BucketId
---------- | -------------------------------------- | ------------ | --------
server-3   | 198.19.249.118(server-3:768)<v4>:55213 | *Primary PR* | 110
server-2   | 198.19.249.129(server-2:820)<v3>:43383 | No           | 110

gfsh>locate entry --region=/demo --key=ddd
Result          : true
Key Class       : java.lang.String
Key             : ddd
Locations Found : 2

MemberName |                MemberId                |   Primary    | BucketId
---------- | -------------------------------------- | ------------ | --------
server-3   | 198.19.249.118(server-3:768)<v4>:55213 | No           | 86
server-2   | 198.19.249.129(server-2:820)<v3>:43383 | *Primary PR* | 86

gfsh>locate entry --region=/demo --key=eee
Result          : true
Key Class       : java.lang.String
Key             : eee
Locations Found : 2

MemberName |                MemberId                |   Primary    | BucketId
---------- | -------------------------------------- | ------------ | --------
server-2   | 198.19.249.129(server-2:820)<v3>:43383 | No           | 62
server-3   | 198.19.249.118(server-3:768)<v4>:55213 | *Primary PR* | 62
最終的に、server-1の復旧によりクラスターが正常に機能していることが確認できます。
Tanzu GemFire Management Consoleでクラスタの可視化
Tanzu GemFire Management Consoleを使うとクラスタを可視化できます。
今回はTanzu GemFire Management ConsoleをDockerコンテナとして実行します。次のコマンドでコンテナを起動します:
docker run --name gemfire-management-console -e SERVER_PORT=7077 -p 7077:7077 --rm gemfire/gemfire-management-console:latest
ブラウザでhttp://localhost:7077にアクセスし、Tanzu GemFire Management Consoleに接続します。
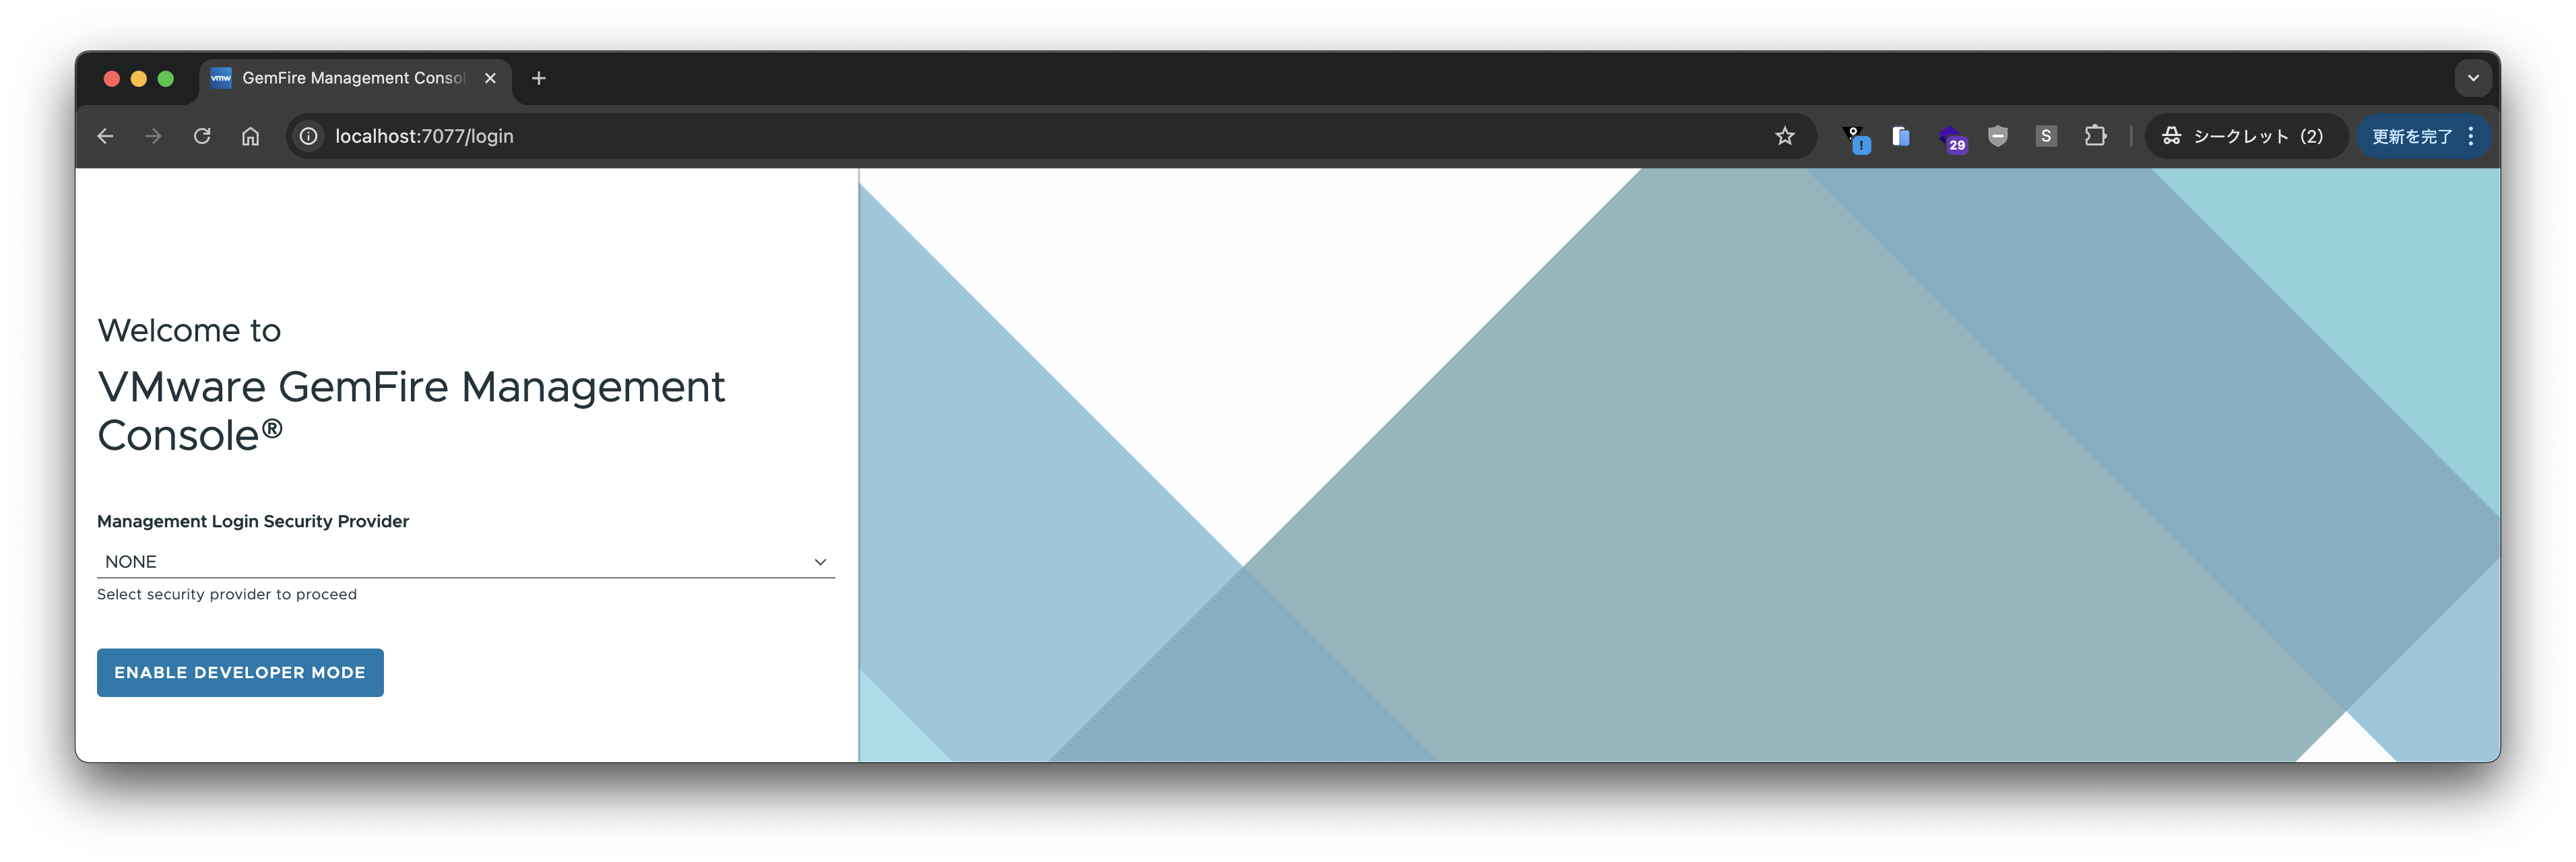
"Management Login Security Provider"を"NONE"に設定し、"ENABLE DEVELOPER MODE"をクリックします。


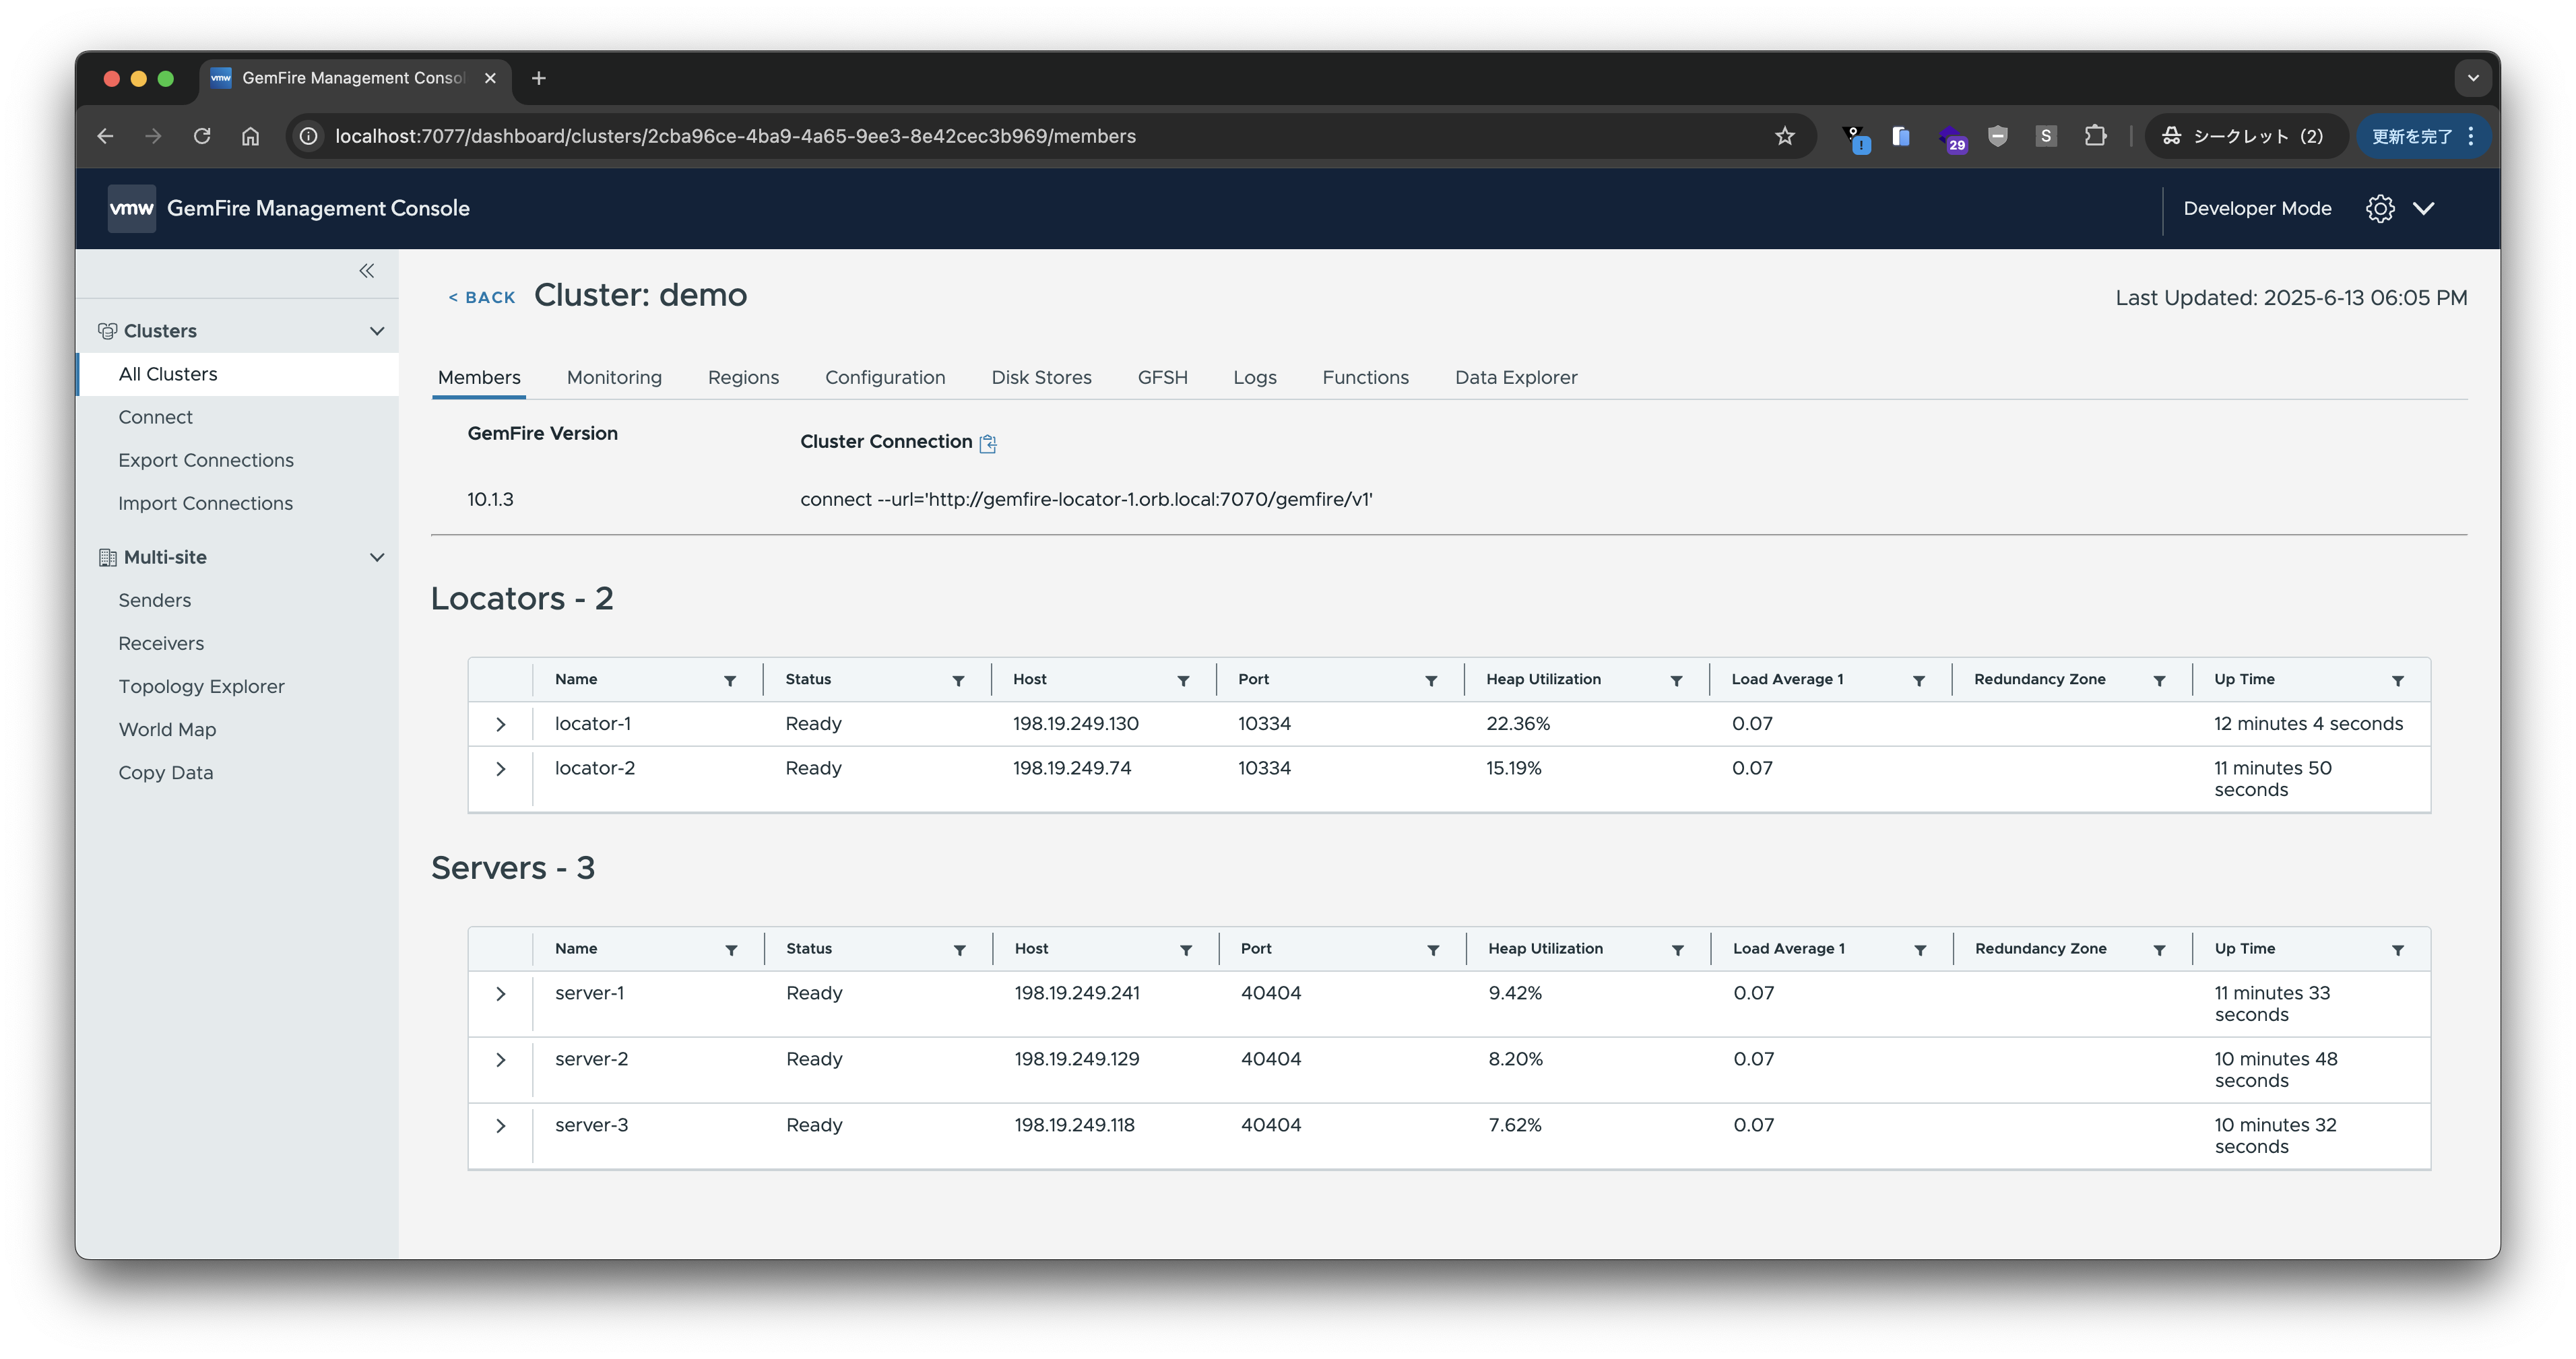
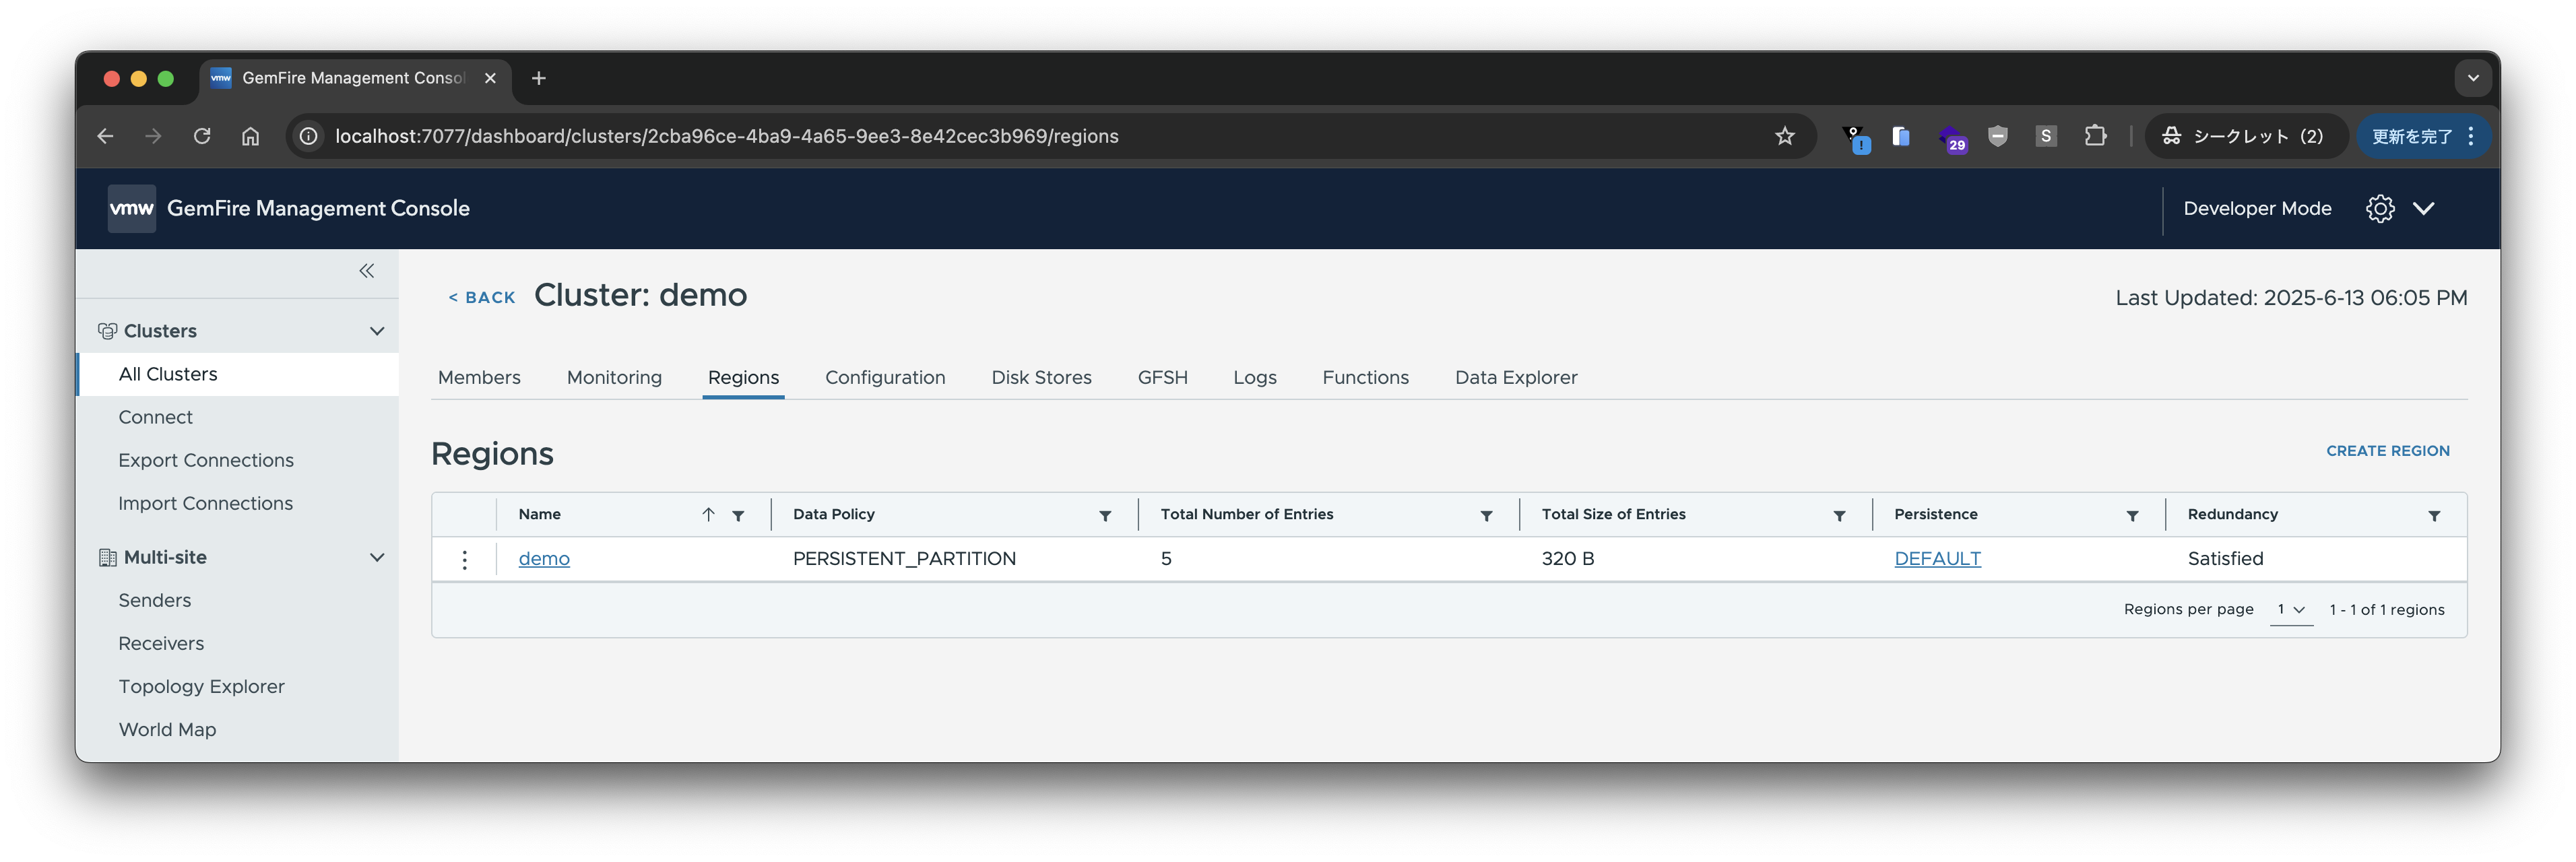
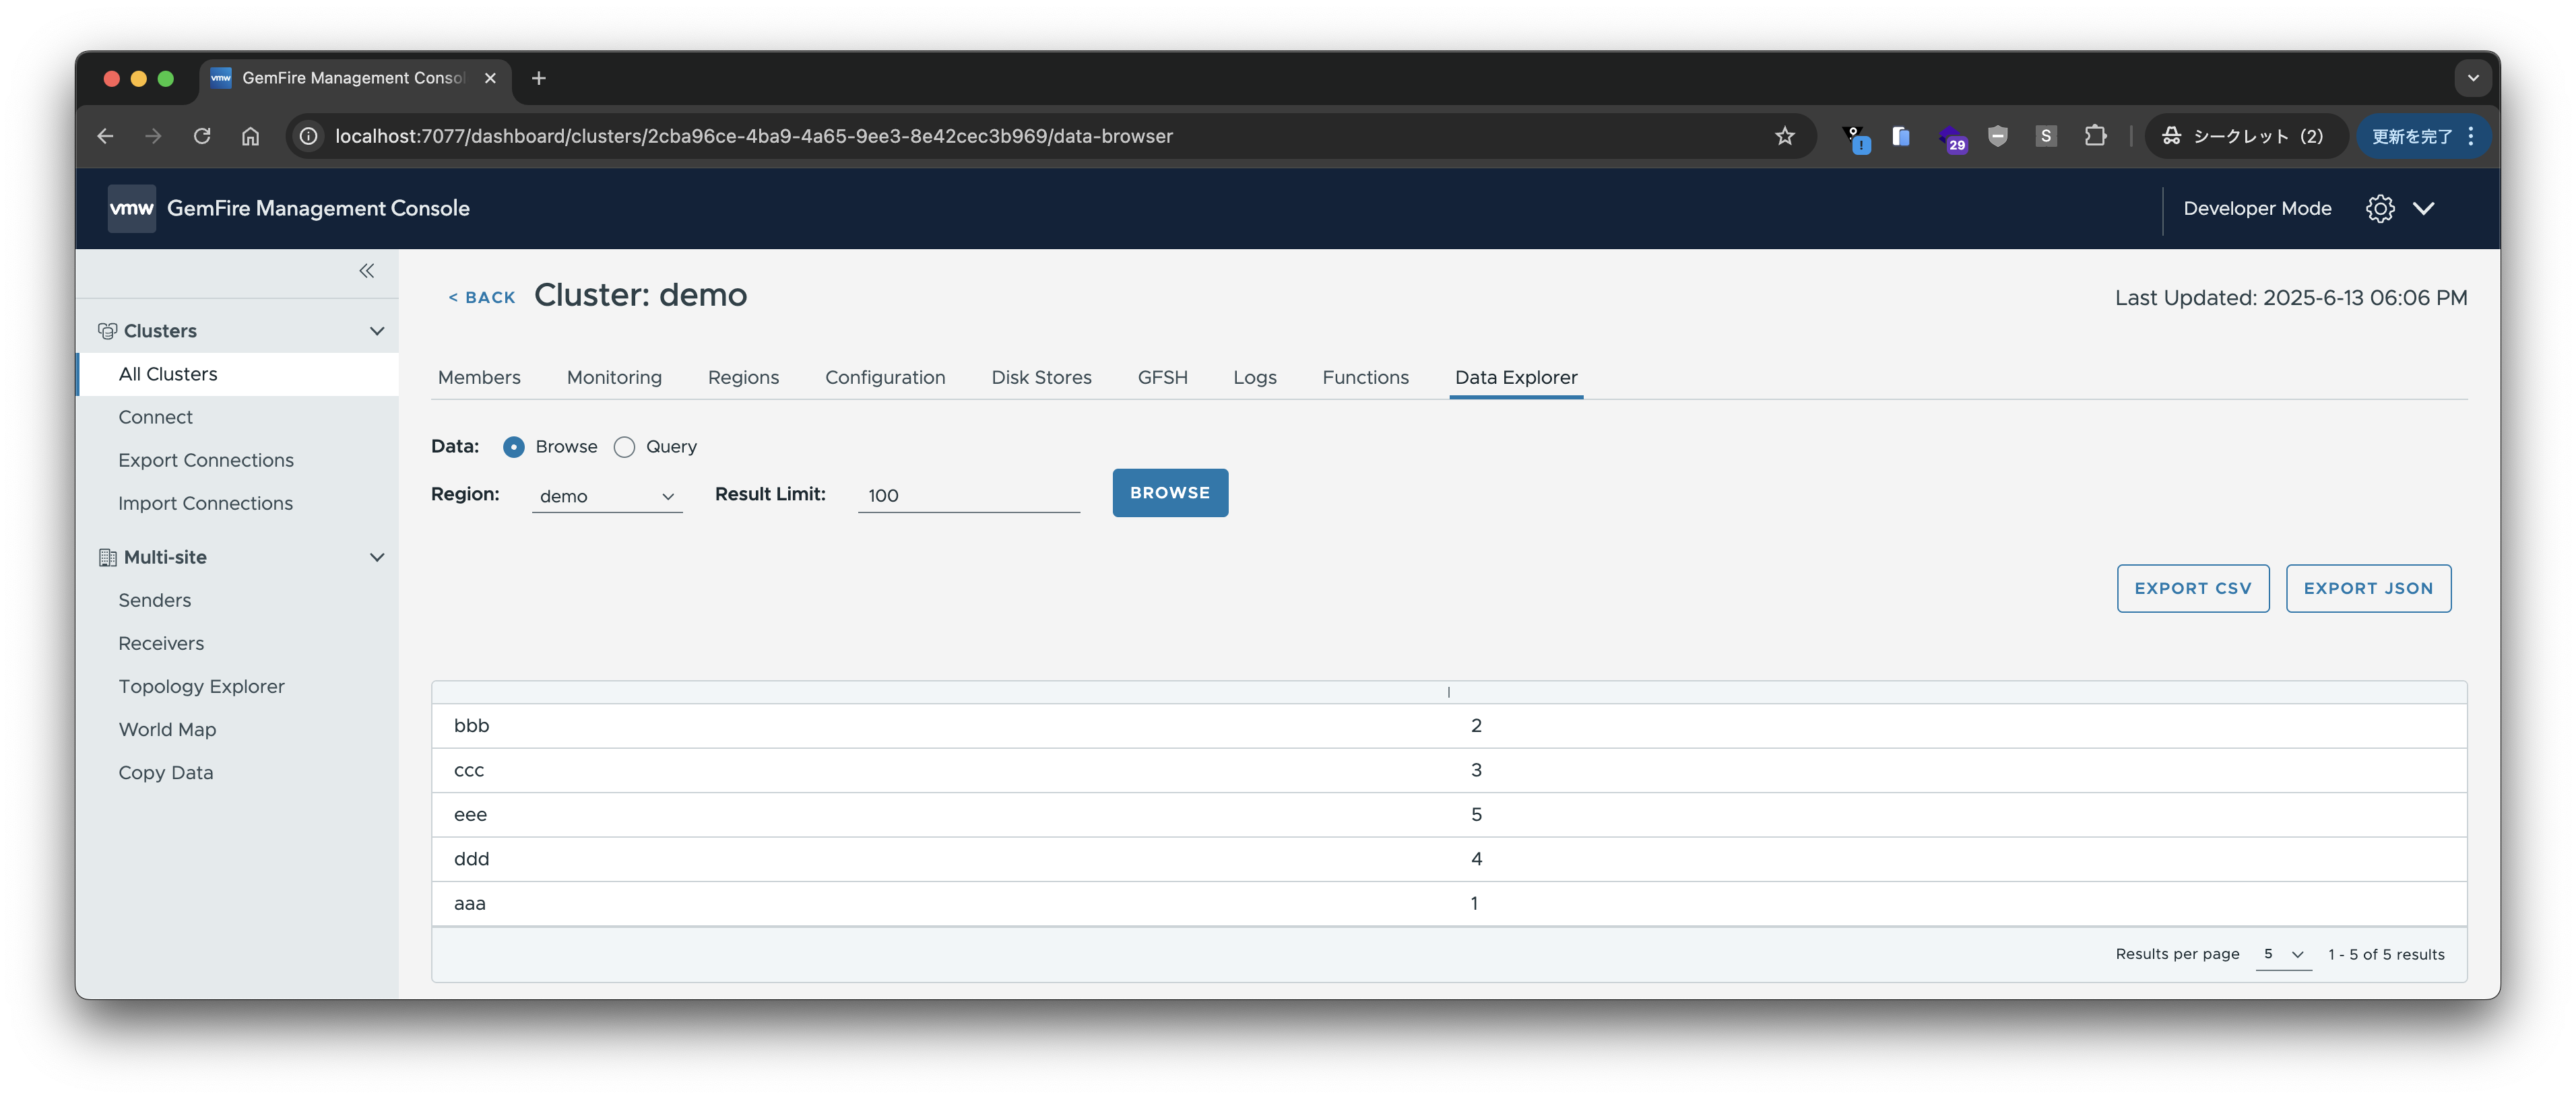
作成したクラスタに接続します。Locatorのホスト名とポート(7070)を入力し、"CONNECT CLUSTER"をクリックします:
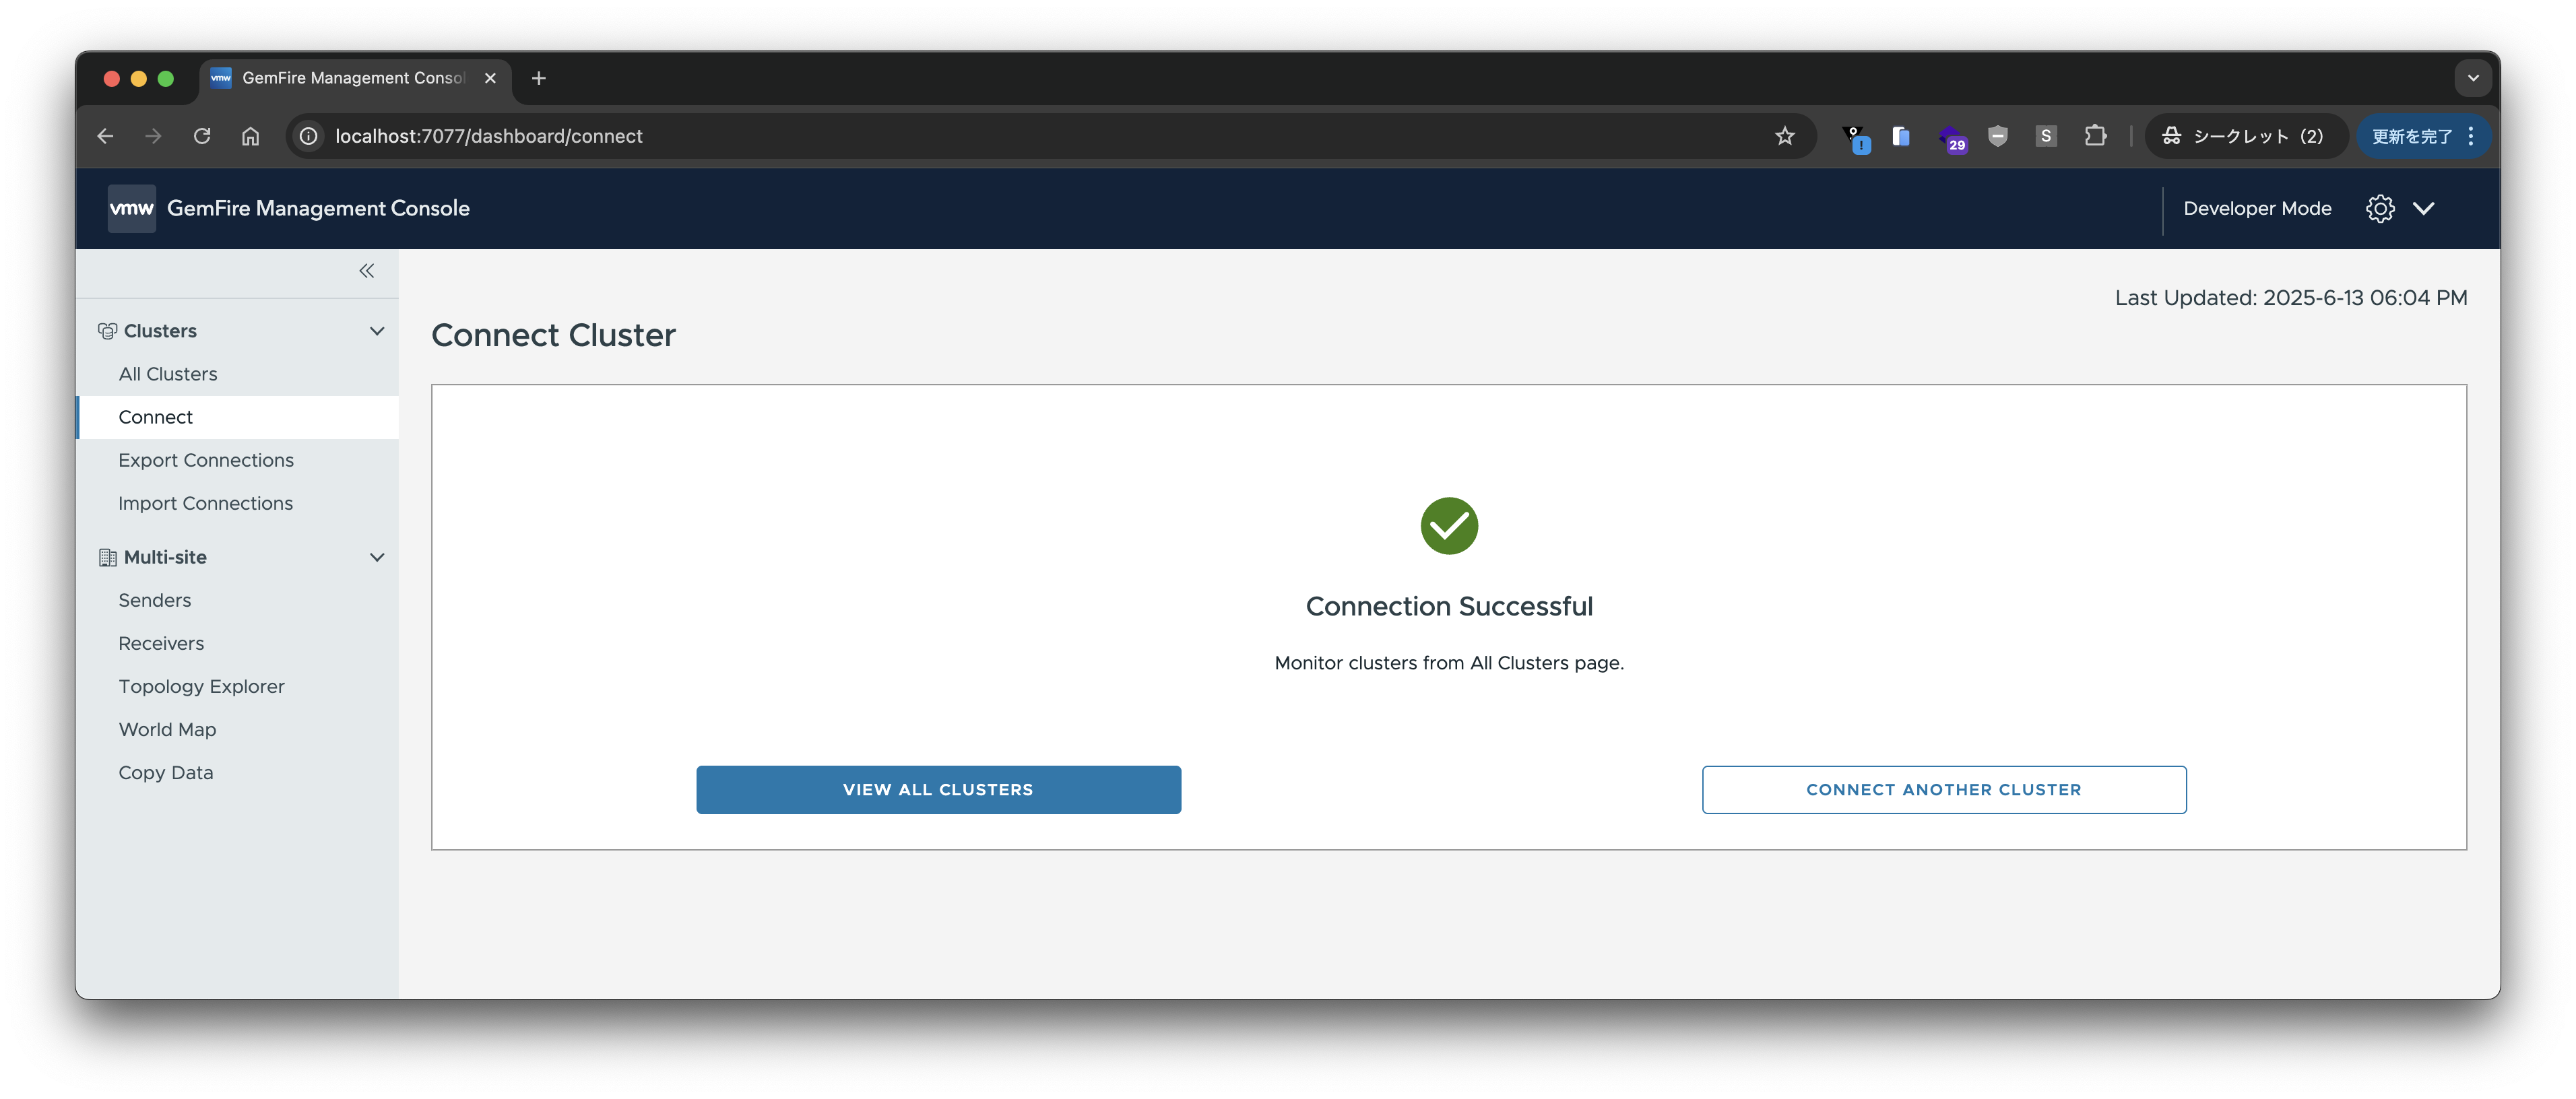
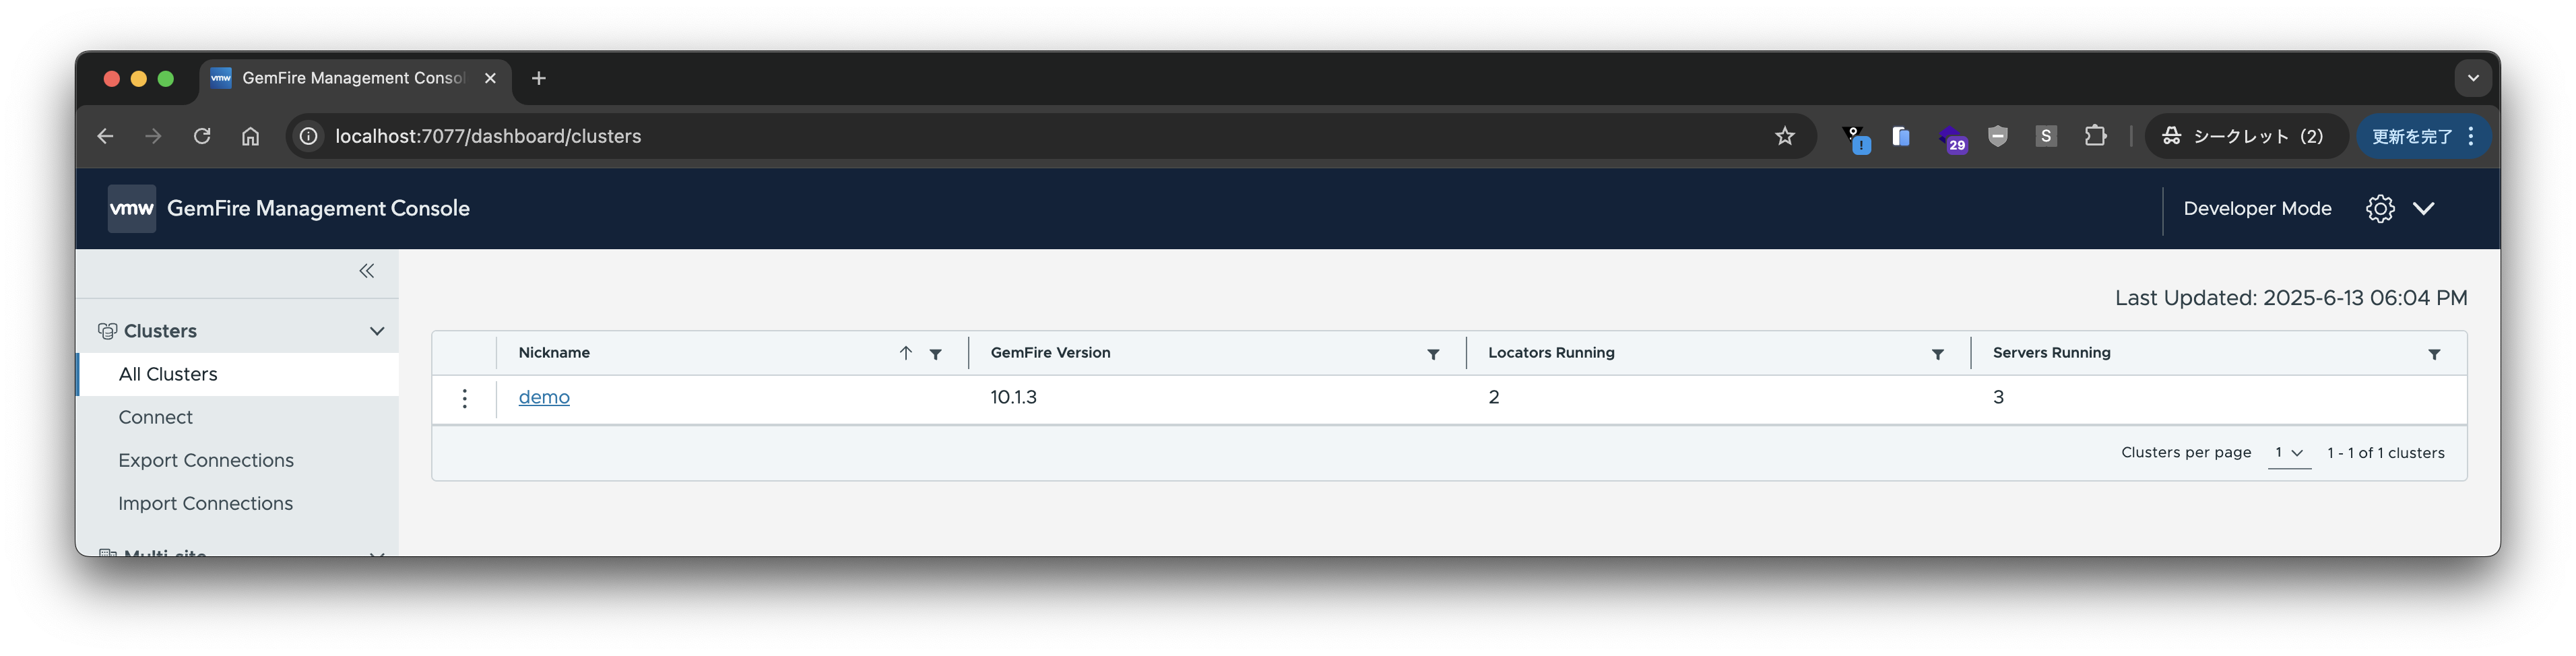
色々な情報がUIで見られるようになって、便利です。
Javaアプリからの接続
https://github.com/making/demo-gemfire のサンプルアプリからGemfireに接続してみます。ソースコードはGithubをみてください。
まずはgfshでRegionを作成します:
create region --name=Customers --type=PARTITION --redundant-copies=1
アプリケーションをビルドします:
./mvnw clean package -DskipTests
Locatorのホスト名とポートを指定して、アプリケーションを起動します:
java -jar target/demo-gemfire-0.0.1-SNAPSHOT.jar --gemfire.locators=gemfire-locator-1.orb.local:10334,gemfire-locator-2.orb.local:10334
http://localhost:8080 にアクセスすると、次の画面が表示されます:
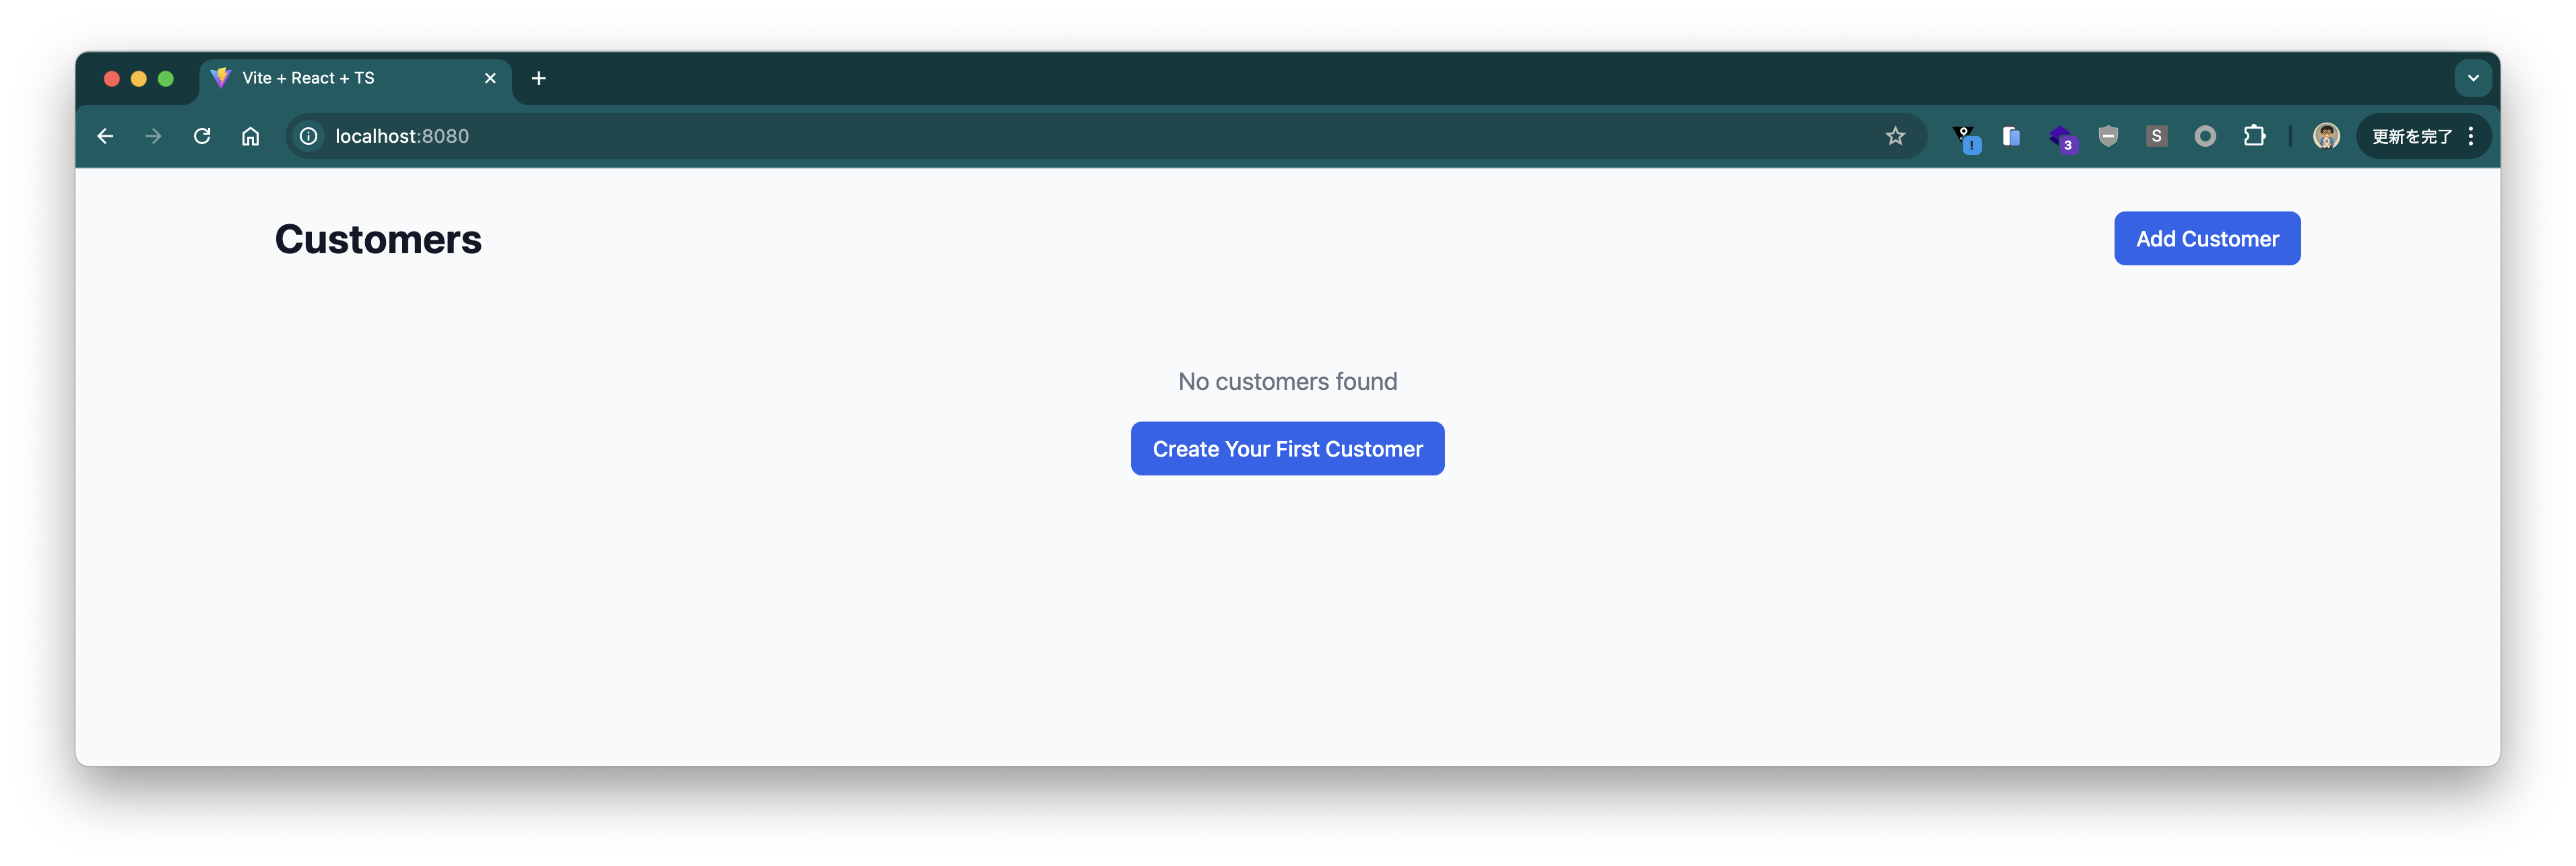
適当に顧客情報を登録します。
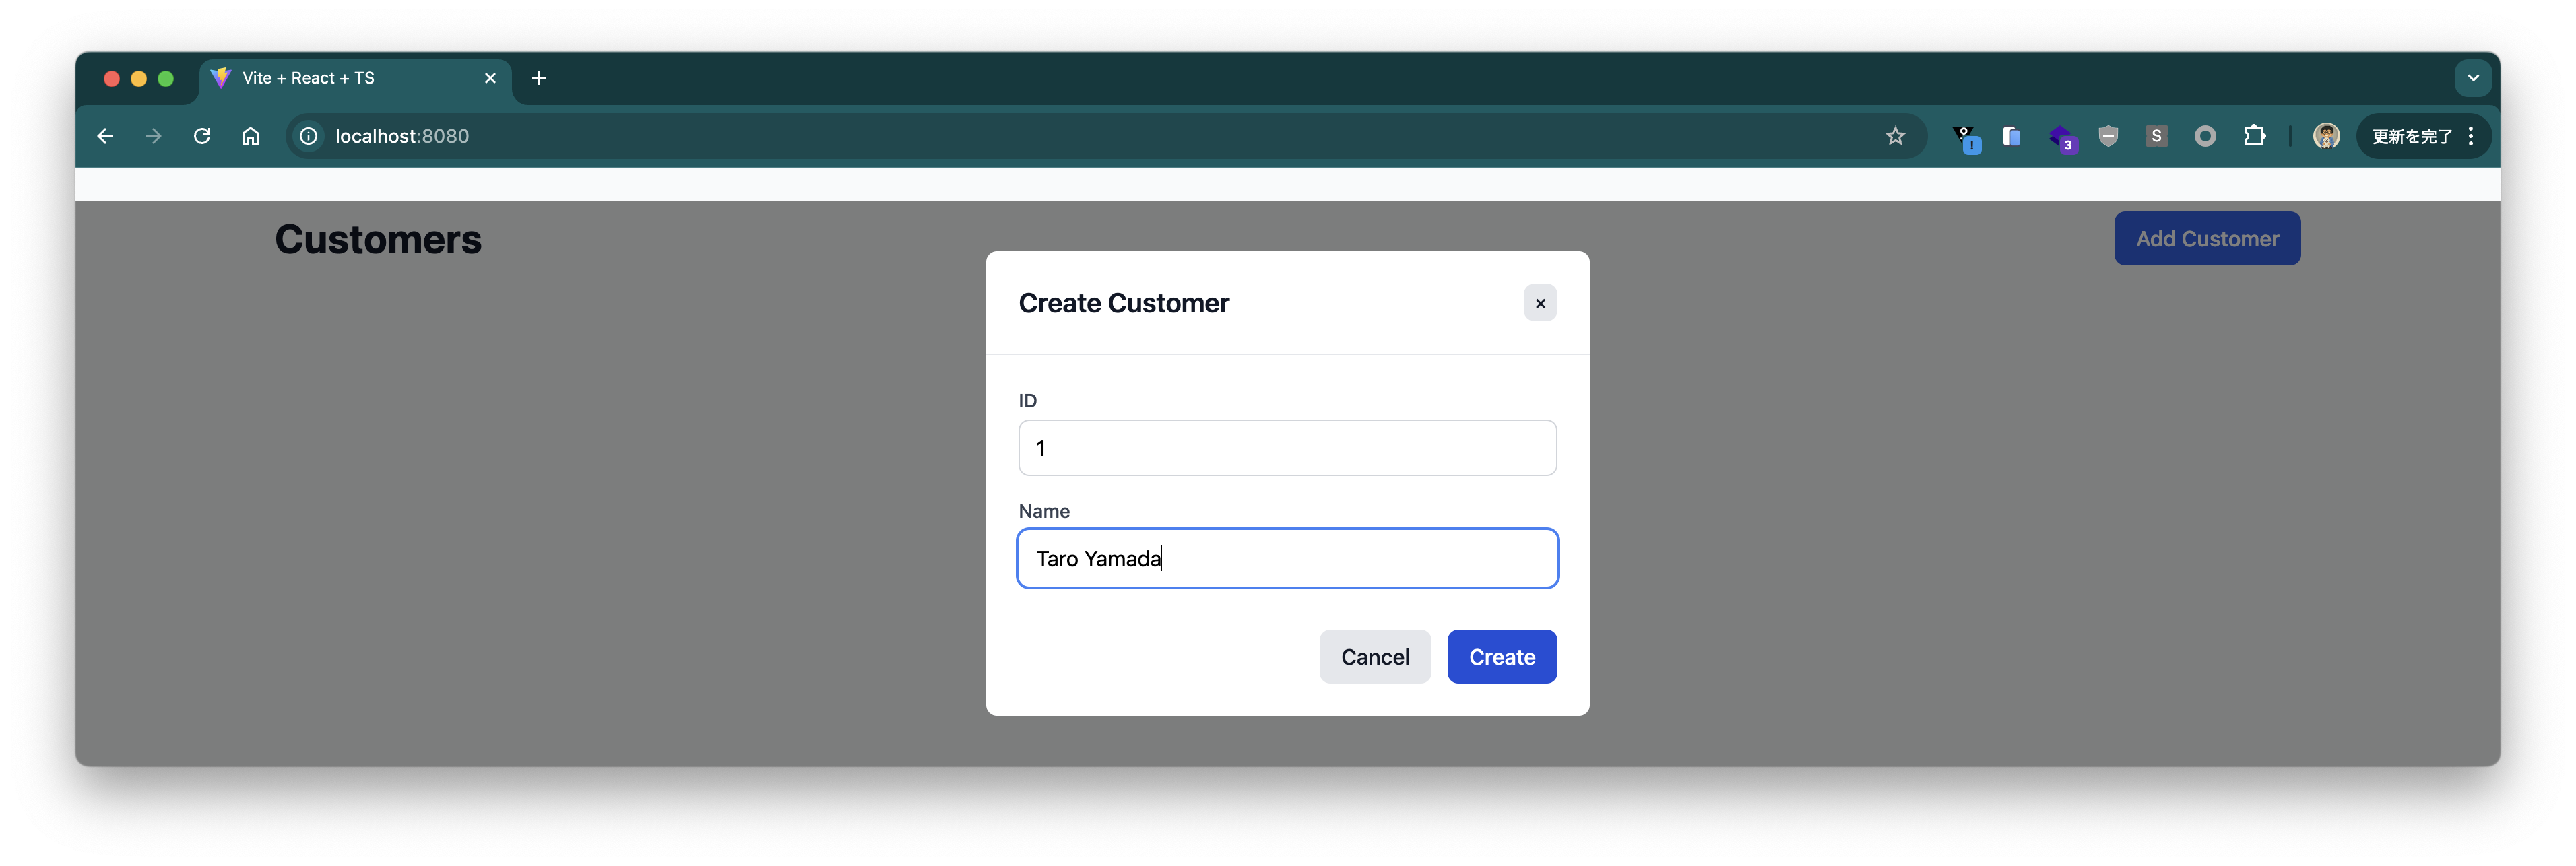
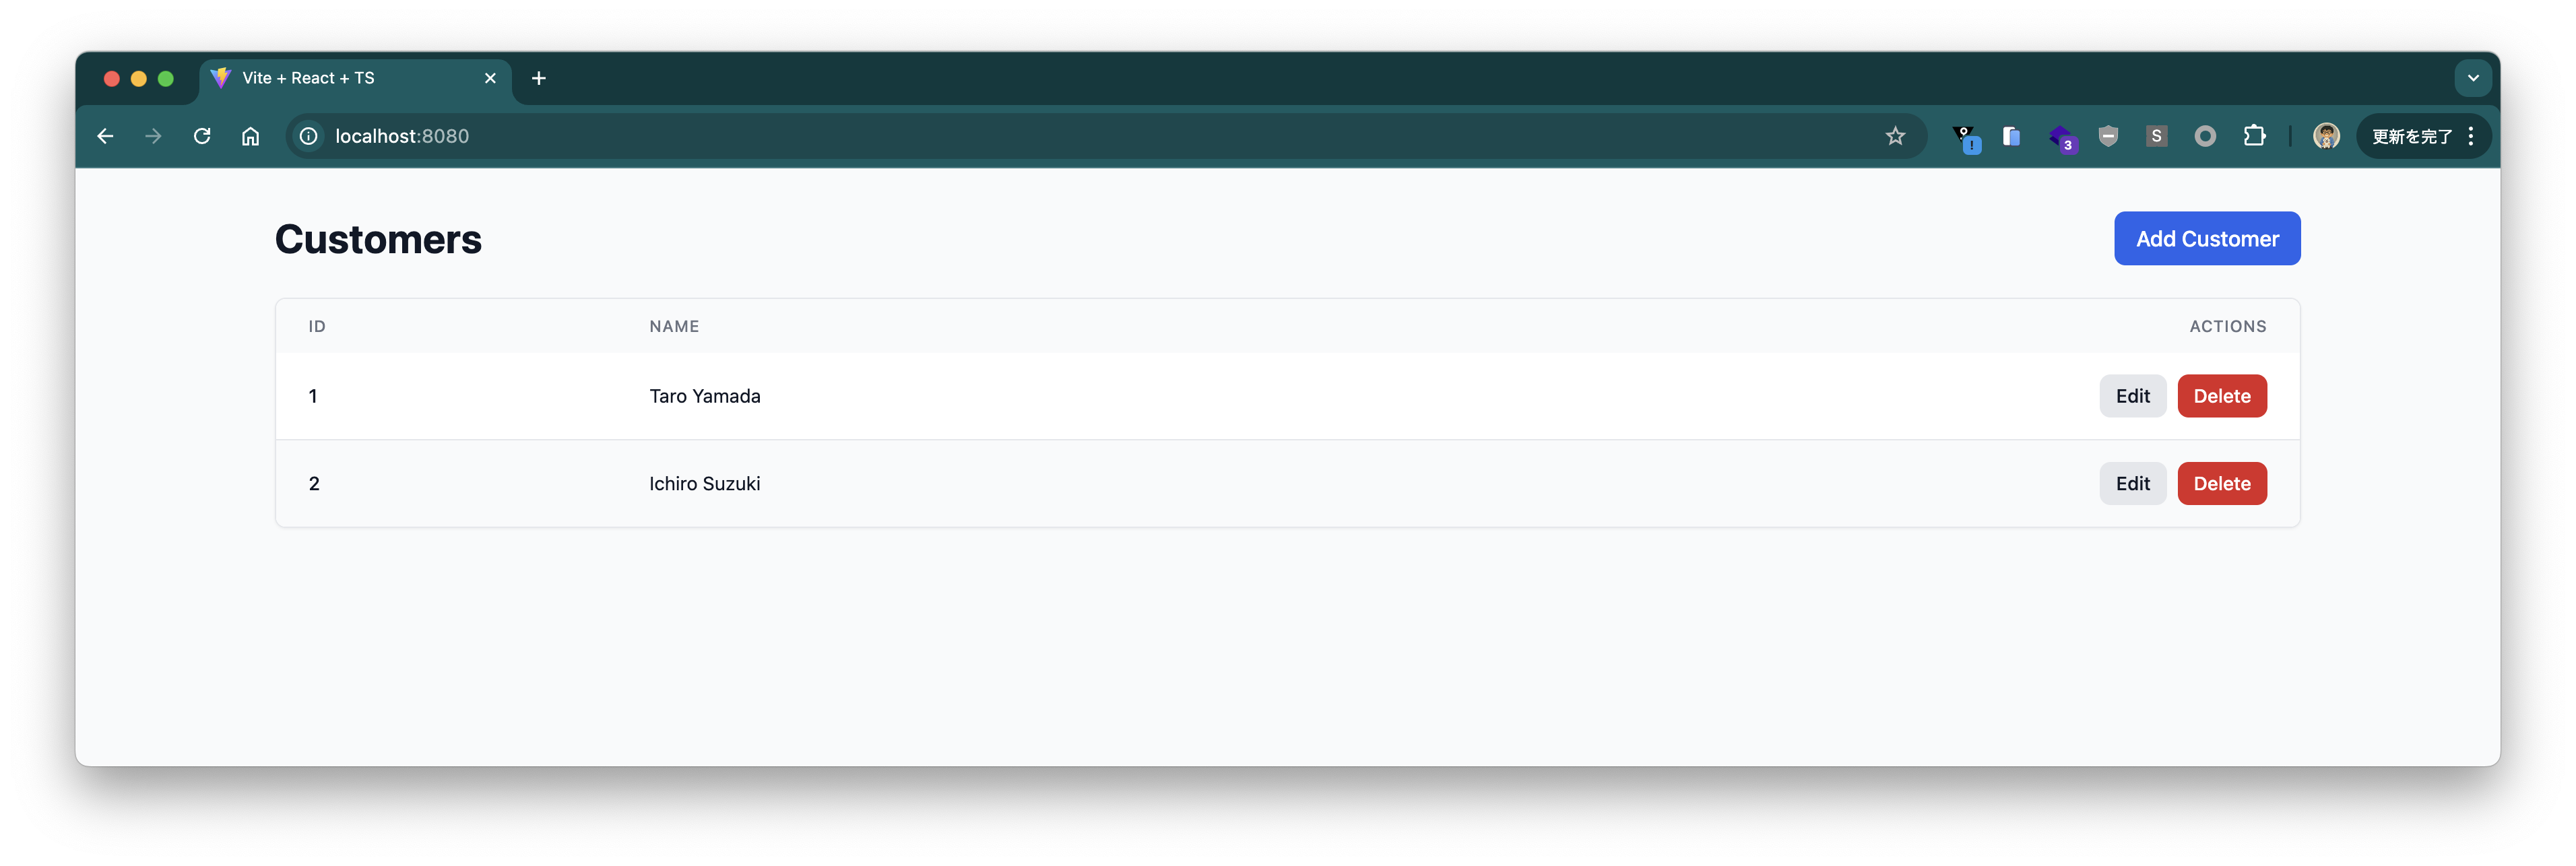
UI上に登録した顧客情報が表示されます。gfshで確認しても、登録した顧客情報がRegionに保存されていることがわかります:
gfsh>query --query="SELECT * FROM /Customers"
Result : true
Limit  : 100
Rows   : 2

id | name
-- | -------------
1  | Taro Yamada
2  | Ichiro Suzuki
このデモアプリはDockerイメージでも試せます。
docker run --rm --name demo-gemfire -p 8080:8080 -e gemfire.locators=gemfire-locator-1.orb.local:10334,gemfire-locator-2.orb.local:10334 ghcr.io/making/demo-gemfire:jvm
同じくhttp://localhost:8080 にアクセスすると、顧客情報が表示されるはずです。
クリーンアップ
チュートリアル完了後、クラスターを停止し、作成したMachineを削除します:
orb -m gemfire-locator-1 -u gemfire gfsh -e 'connect --locator=gemfire-locator-1.orb.local[10334]' -e 'shutdown --include-locators=true'
全てのMachineを削除してチュートリアルを完了します:
orbctl delete gemfire-server-1 -f
orbctl delete gemfire-server-2 -f
orbctl delete gemfire-server-3 -f
orbctl delete gemfire-locator-1 -f
orbctl delete gemfire-locator-2 -f